How to Wash and Care for Seedling Trays

When Should You Clean Your Seed Starting Equipment?
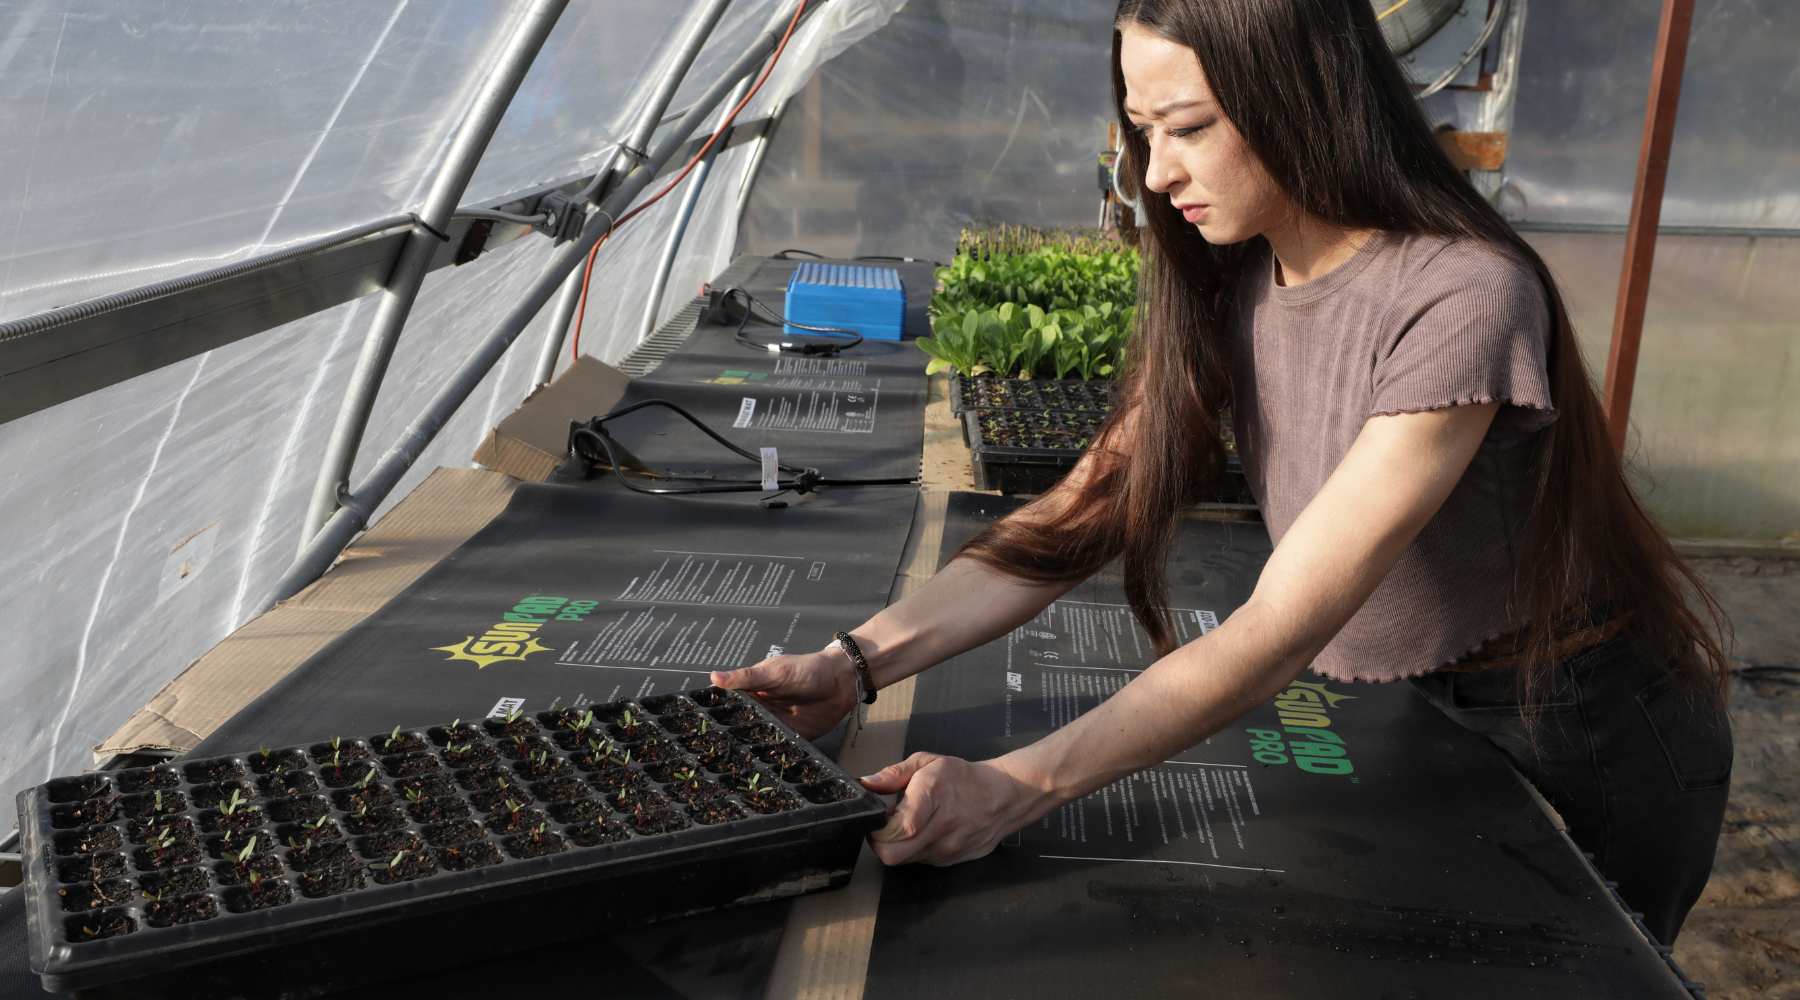
Planting season is an exciting time for growers. But, before you get too anxious about planting those seeds, have you cleaned your equipment such as (cell trays, 1020 trays and seed starting cups) since the last growing season?
It may seem like a meaningless task, but maintaining good grow room hygiene is paramount to not only the success of your seedlings but also for a farm business as a whole. To give your new seedlings the best chance, start with a clean slate.
Why should you clean trays before planting?
Cleaning trays before planting can help reduce this risk of fungal and bacterial diseases that could kill new, vulnerable seedlings and reduce your overall germination success. Viable bacteria in the water combined with dirty seeds can be a recipe for plant disease. Even if you planted the same varieties in the trays during the seasons prior, it's still recommended to start with clean, sanitized trays. If growing at a larger volume, check out this commercial tray washer designed to clean 1010 and 1020 trays.
What's the best way to clean propagation trays?
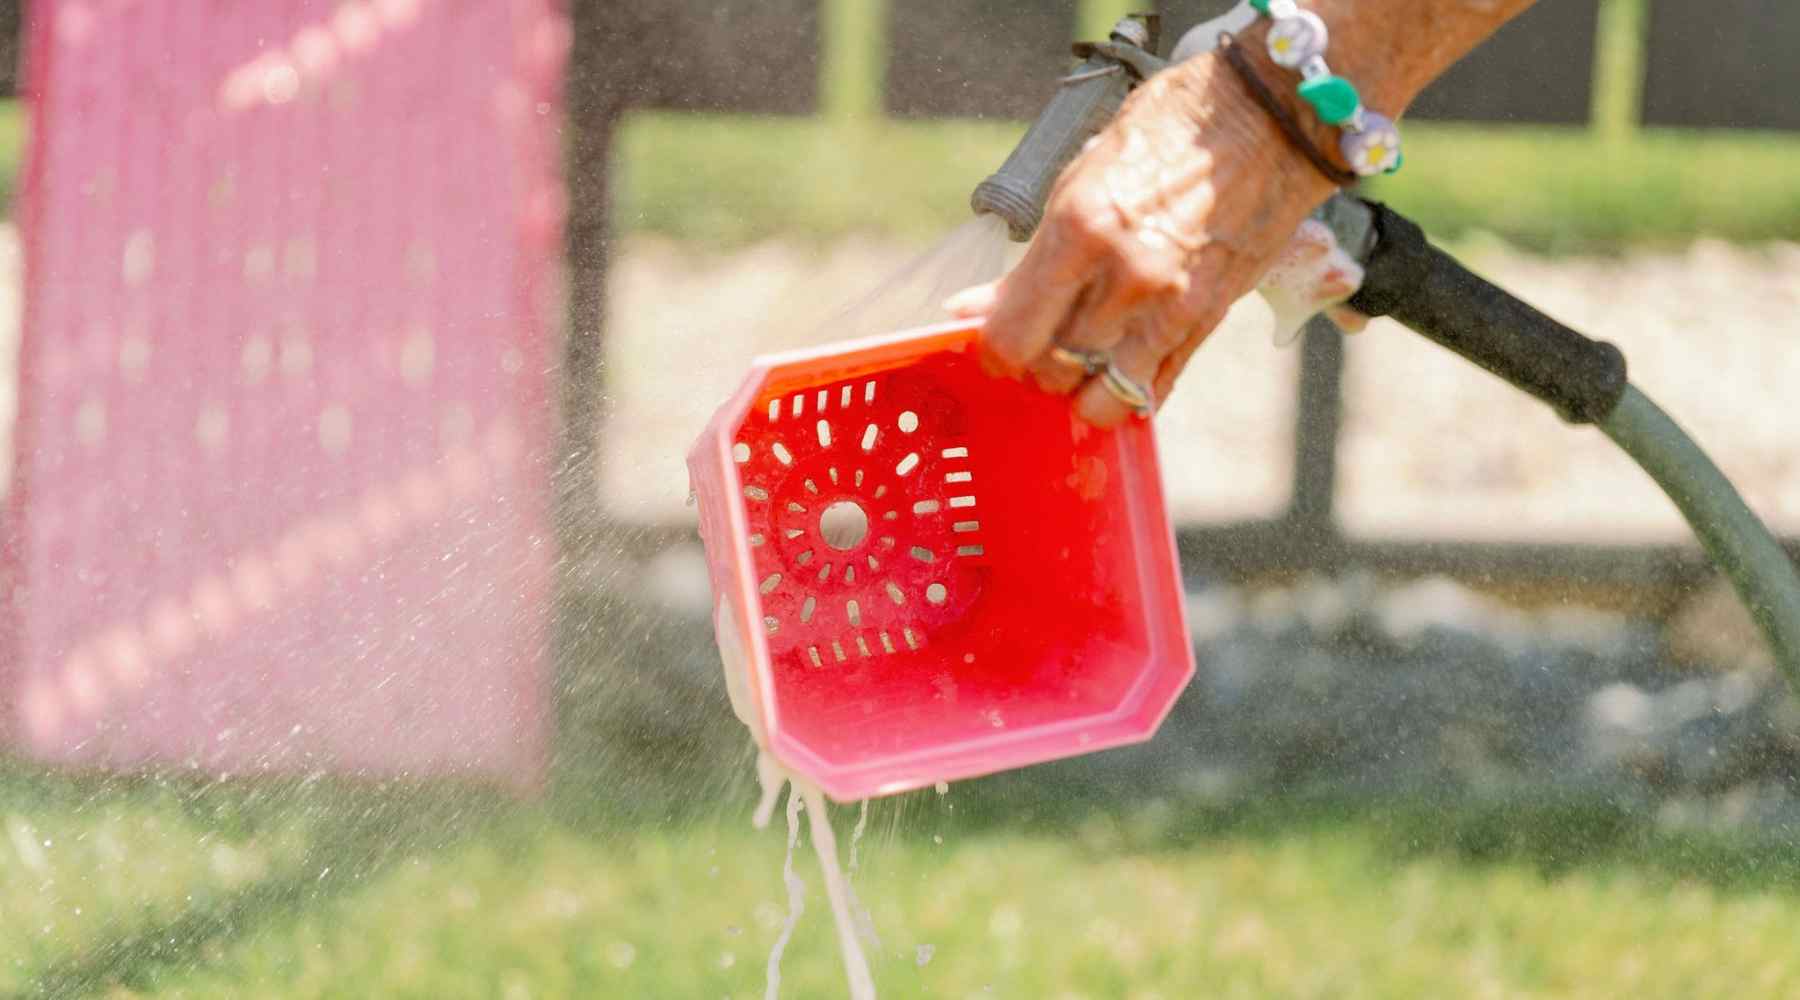
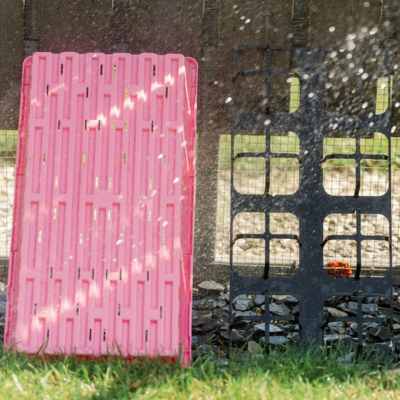
After you are finished using your propagation trays, it is best practice to wash and disinfect them. We suggest using a mild detergent and hot water to remove any dirt or debris. After thoroughly rinsing your trays, spray them down with a diluted vinegar solution. Mix equal parts vinegar and water in a spray bottle and let the solution sit on the trays for about 10 minutes before thoroughly rinsing. This application will help get pesky hard water spots out of your trays. We recommend following this step with diluted H202 solution (see below for recipe), a 10-minute soak, and a rinse.
- Wash with a mild detergent. (generic, mild soap)
- Clean deep into the cracks removing ALL residual root material (A sponge or brush helps with this.)
- Rinse thoroughly
- Spray trays with a diluted vinegar solution. The acid works well on hard water deposits.
- Rinse well
- Air Dry
Tip: For an extra deep clean spray with H2O2, let sit for 10 minutes, rinse and let air dry. Please do not mix the H202 and the vinegar in the same container as they are unstable as a mix. When applied separately, they are a highly effective disinfectant.
What's the Deal with H202?
If you frequent microgreens forums, you have probably come across growers mentioning H202. H202, also known as peroxide, found in brown bottles in just about everyone's medicine cabinet, is a great tool to have in your grow room or greenhouse. H202 is an unstable solution, so additives are added to the mixture to increase the shelf-life. The main difference between food grade peroxide and household peroxide is the presence of those chemical additives.
Household Peroxide
Typically you will find household H202 in a 3% concentration. It's stored in a brown container to help with shelf stability along with the additives we mentioned before (i.e., Tin, Sodium stannate & Nitrates).
Food-grade Peroxide
Generally, it comes in a 35% concentration but can be found in lower concentrations (3%, 12%). The main difference between the food grade and the household peroxide is the absence of stabilizing additives. We recommend using this type of peroxide for food and plant applications. The concentration of 35% is far too strong to use for most cleaning, but this concentration can be diluted down to 3% and be ideal for most applications.
H202 Diluted Solution Recipe (35% diluted to 3%)
- 1 part 35% Food Grade H202
- 11 parts H20
- 1 Amber Spray Bottle
Why It Matters
Disease won't hit you every time you skip a wash between plantings, but we don't recommend risking contamination. Having proper grow room hygiene will score you better with the health department if growing for retail clients and is better overall for your bottom-line when you can avoid unnecessary loss from contaminated trays. Learn more about seed starting by reading Seed Starting 101: Starting Seeds Indoors for Your Garden.
Also in How to Grow Seedlings

Soil Blocking 101
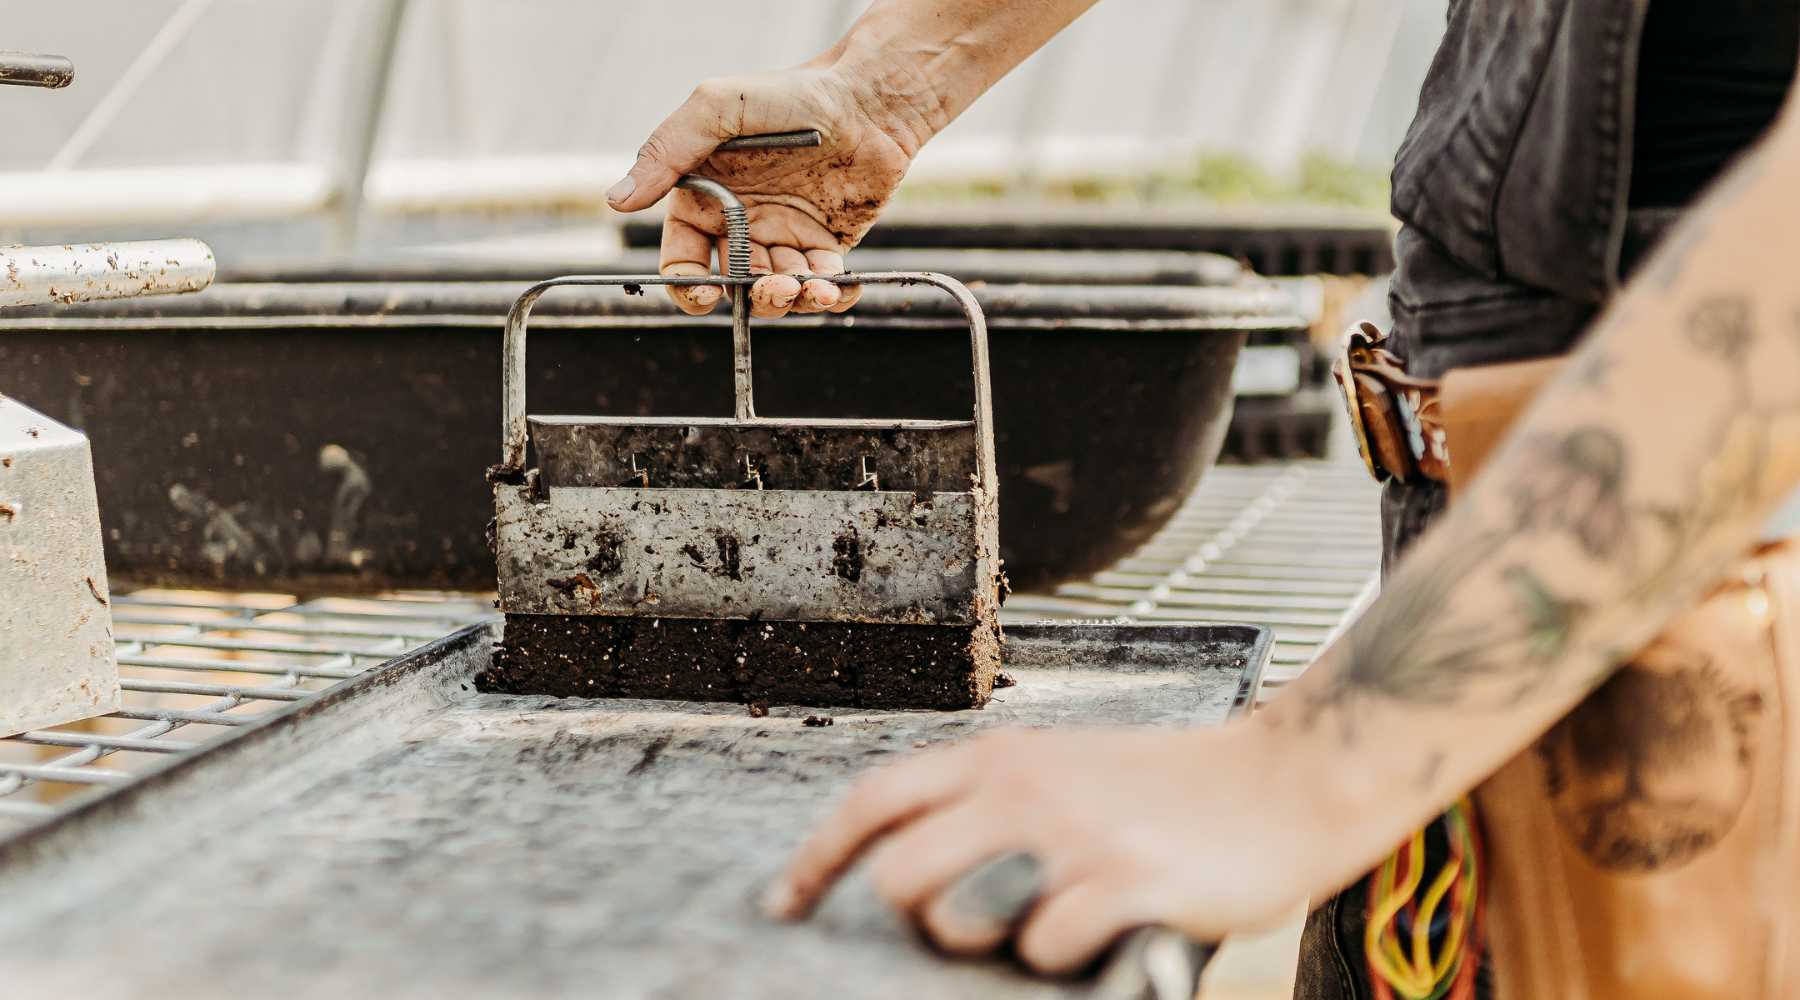
Soil blocking is a method of propagating seedlings that involves filling a metal blocking tool with soil and squeezing to form a compressed cube. Seeds are planted directly into the formed block. Soil blocks come in various sizes and are advantageous for air pruning roots.

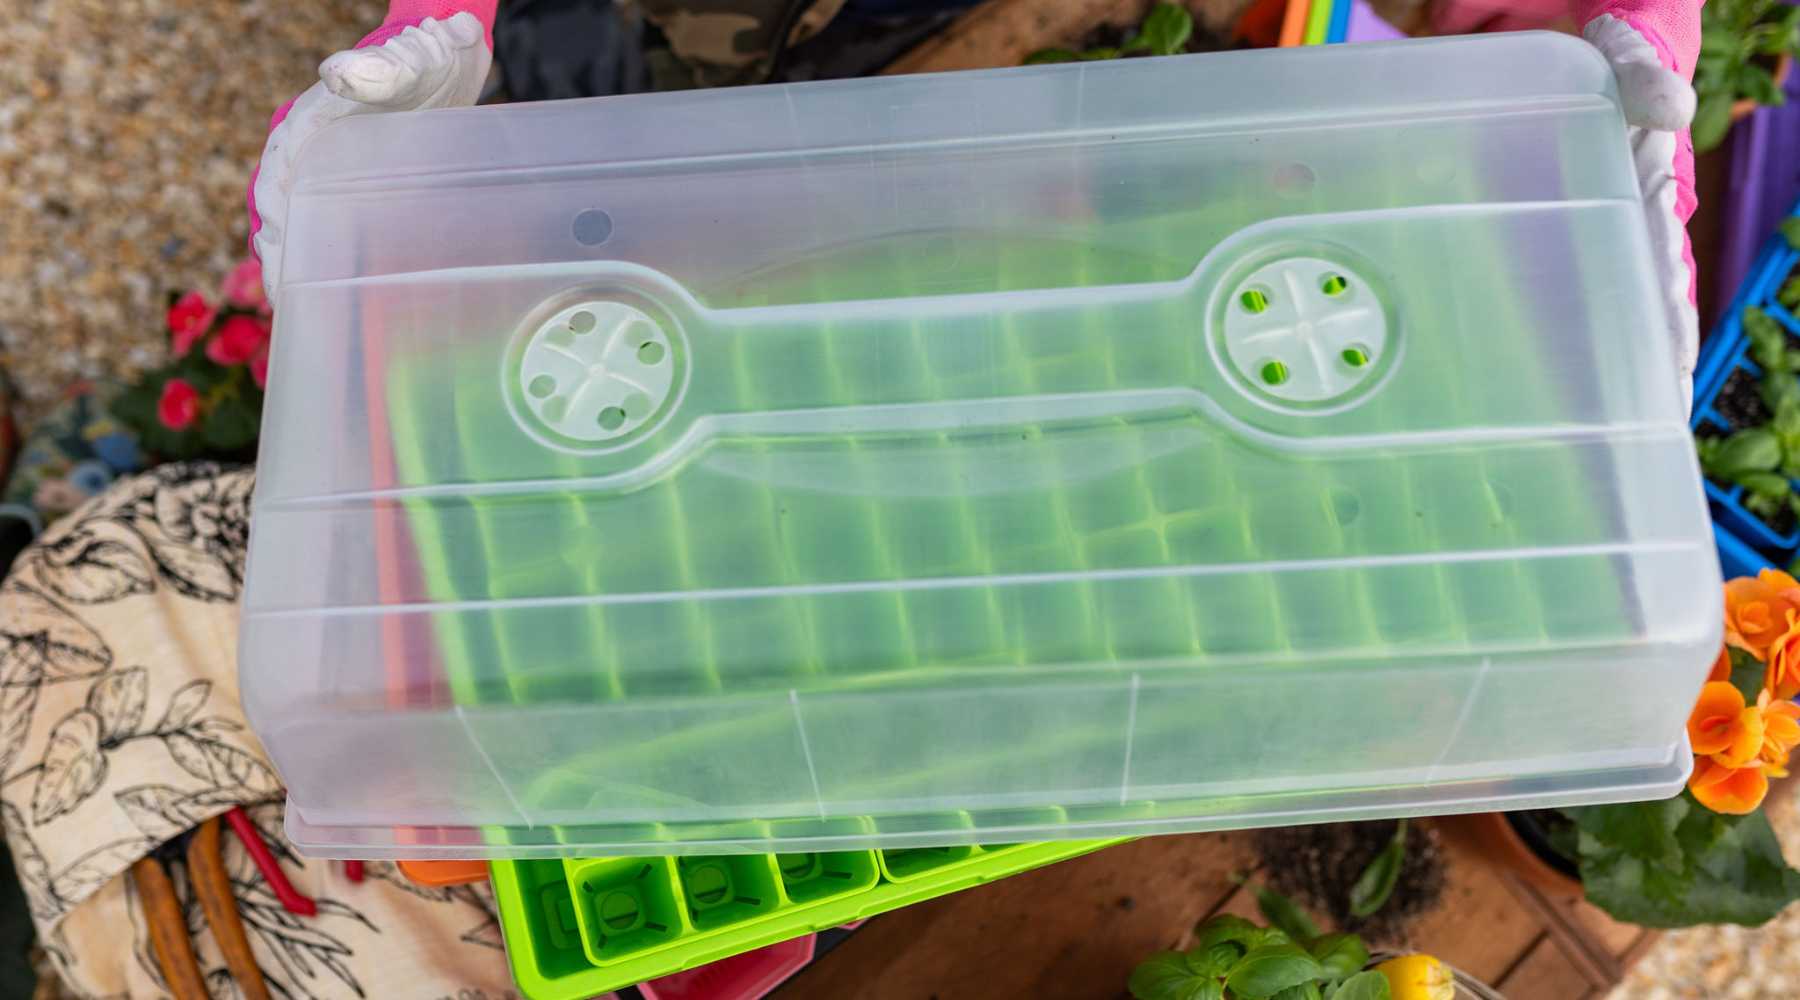
How to Use a Humidity Dome for Seed Starting
Starting up seeds for this year's garden? Here is the lowdown on the humidity dome debate when starting seeds in cell trays or starting a tray of microgreens. Humidity domes are a useful tool to use during germination, often used in conjunction with heat mats.
Read More

How to Use Heat Mats for Starting Seeds
Learn how to set-up and properly use a heat-mat in this quick how-to article. Read about the best way to use a heat mat and find out if you even need one!
Read More