Mold on Microgreens- How to Combat and Prevent Mold

Mold is a problem that many microgreens growers face and it can become a consistent problem if you aren't prepared for it. Having the knowledge to identify and troubleshoot mold can help save a lot of headaches, wasted trays, and time in the future.
In order to combat and prevent mold on microgreens, we need to understand it better: what causes it? How can we prevent it? Preventing mold comes down to a few key issues that cause excess moisture in the growing space - a prime factor in mold growth.
What Does Mold Look Like on Microgreens?
"Is it mold or root hairs?" has to be one of the most common questions new growers have when growing their first tray of microgreens. To the untrained eye, they can look the same, but with some practice and reference photos, you will easily be able to identify their distinct differences.
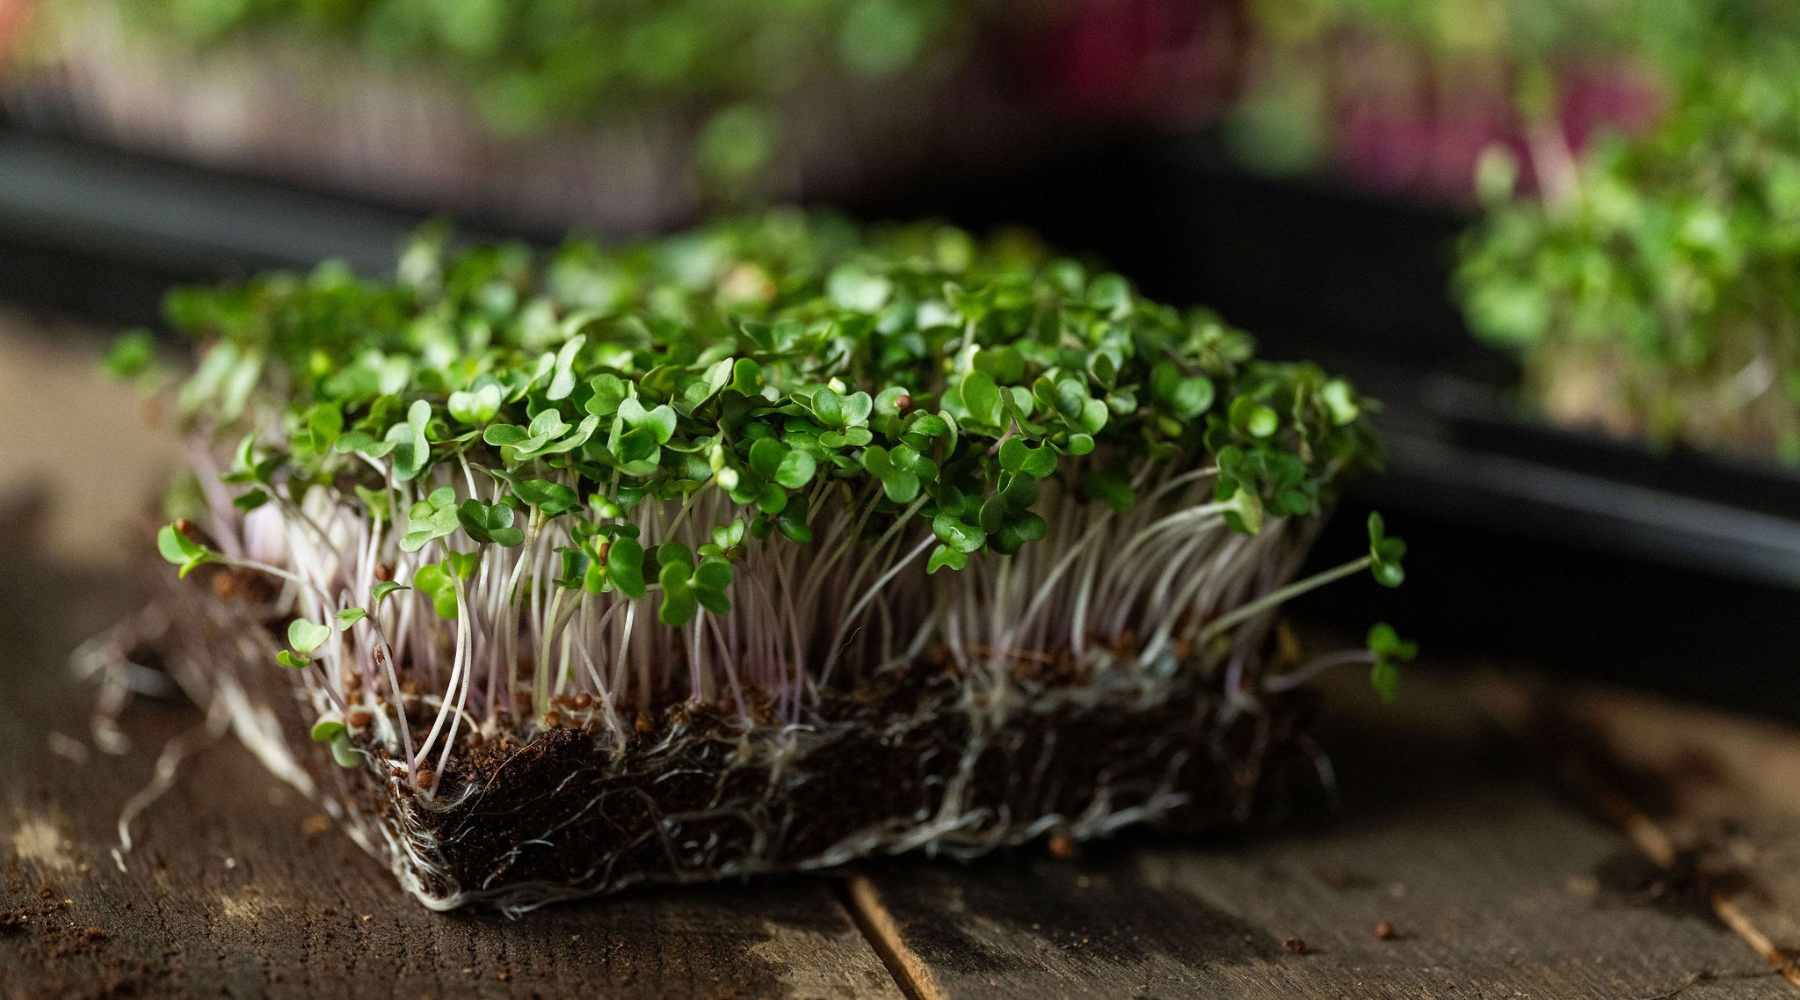
Root hairs are thin, featherlike cilia that grow out from the roots to increase the surface area of the new seedling to help with nutrient uptake. They will not have an odor and will only appear around the root of the sprout.
Root hairs look kind of like fluffy cotton, and they are most prominent at the beginning of the sprouting stage. However, seeing root hairs just at the base of the growing medium even when your microgreens are older is still common.
Why are my sprouts fuzzy?
The fuzzy bits you see at the base of your microgreens on the roots are actually the root hairs. They're nothing to worry about, but if you're worried about mold, it can be easy to confuse the root hairs with mold until you've developed a more trained eye.
If you're unsure whether you have root hairs or mold on your microgreens, the Rinse Test, discussed more in detail below, will help you know for sure if you are dealing with mold or fuzzy root hairs.

How to Identify Mold on Microgreens
When you're identifying mold on your microgreens, there are some key factors to keep in mind. Mold, often appearing as spider-web-like strands, can overtake a tray of microgreens when given the right conditions. Mold and fungi thrive without proper drainage, air circulation, and lighting.
Here are some key things to look for:
- offensive odor
- grows above soil and directly on greens
- slimy to the touch
- will not disappear with rinsing
- can appear as black, purple, blue spots on leaves
Trays can also fall flat due to mold, also referred to as damping-off.

Damping-off in Microgreens
Trays can also fall flat due to mold, referred to as damping-off. Damping-off is a common issue faced by microgreens growers and is caused by pathogens that attack seedlings at their base, eventually killing them off. This usually results in the loss of the whole tray, It can also affect any other type of seedling.
These pathogens thrive in very specific environments. For microgreens, these environmental issues are mostly due to airflow problems. When plants are not receiving proper airflow, soil-based fungi start to take over and multiply, spreading from plant to plant.
It attacks both the root and the stem of the microgreens. The mold begins to steal all of the nutrients from the microgreens, which causes them to fall at the base. The roots may change to a brown color, and will become slimy.
As they fall over, the airflow problems increase and they result in wet microgreens and an anaerobic environment, encouraging the pathogens to continue to take over, and ultimately causing total tray loss.
Why do my microgreens smell bad?
When your microgreens smell bad, that's a key indicator of the presence of mold. Microgreens should smell earthy and plant-like, while varieties like onion or broccoli smell like their full-size counterparts.
However, if your microgreens smell rotten or "swampy," that's an indication that something is wrong. Those smells in a microgreen tray mean the tray is too wet - which is a perfect environment for mold to take over. If your microgreens smell rotten, you should troubleshoot the growing conditions for the future, but toss those microgreens - they have mold and are not good to eat.
Where does mold grow on microgreens?
Mold grows on microgreens on the seed hull or on the stem and leaves of the plant itself. While root hairs will often get confused for mold by beginner microgreen growers, root hairs appear exclusively on the roots, as the name indicates.
Mold on microgreens can appear at the base of the stem as well, but won't pass the Rinse Test (discussed below). The mold can also appear on the stems or on the leaves.
What's the rinse test for microgreens?
The rinse test for microgreens can help beginner microgreens growers determine whether they have mold on their microgreens or if it's just the root hairs. To perform the rinse test, spray your microgreens a few times with water. If there isn't a reduction in the suspect cilia, then that indicates mold.
If the fuzziness of the root hairs disappears, you know for sure that you are dealing with root hairs only and not mold. If the suspected mold has not changed at all when wet, then it's time to throw out the tray and look at your grow space for possible issues.
Top 10 Ways to Prevent Mold on Microgreens
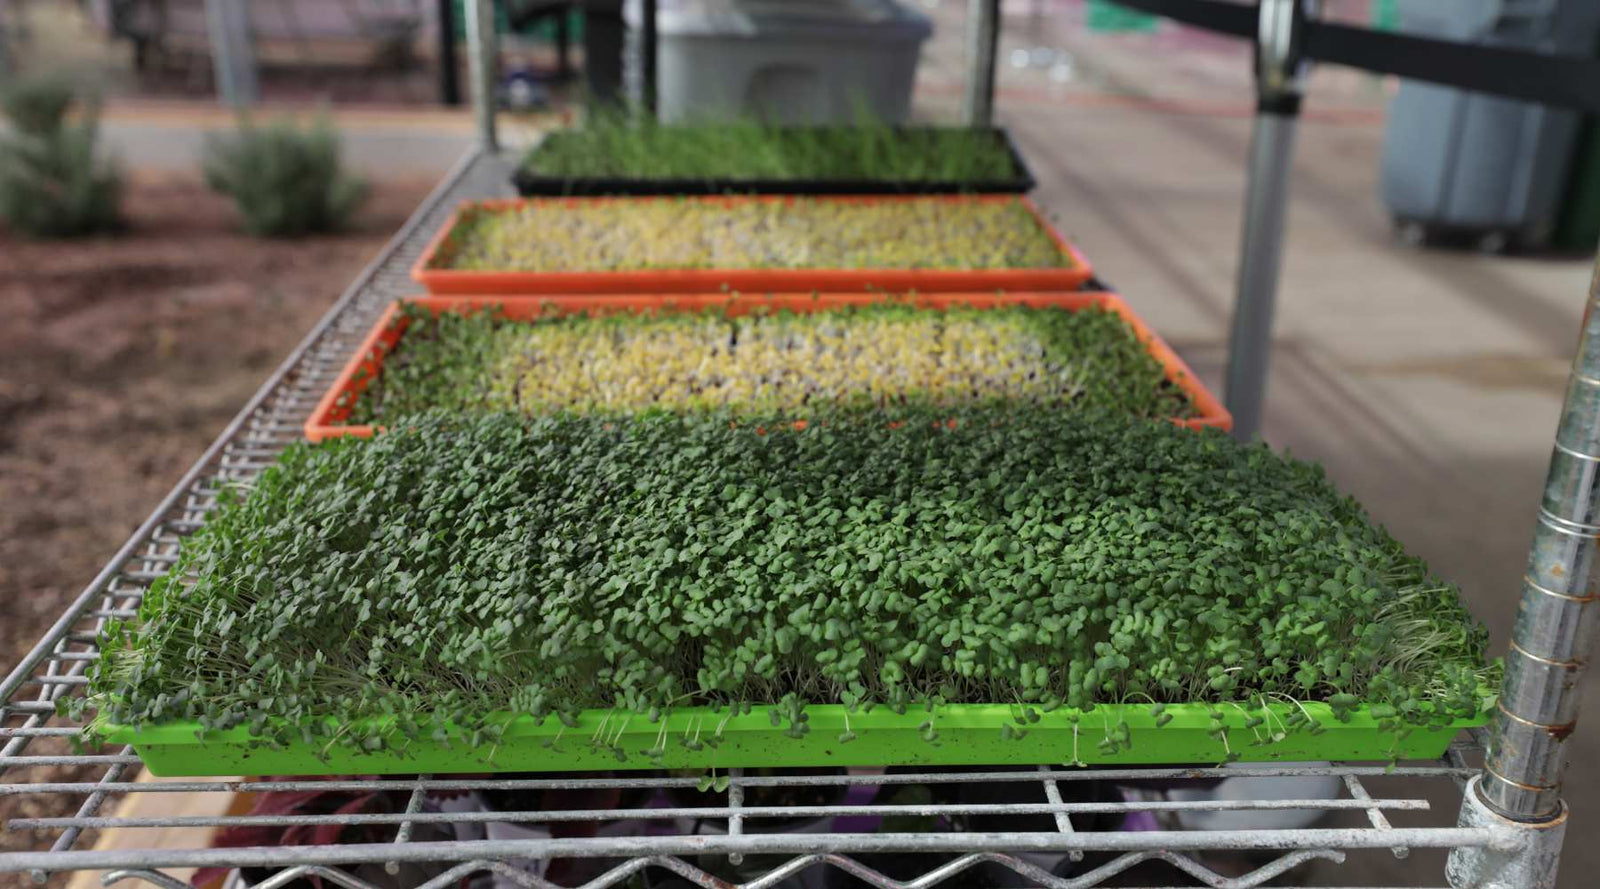
1. Plant in trays with drainage holes
2. Use clean growing mediums that allow for drainage
3. Control the humidity of your grow space
4. Provide trays with proper air circulation with the use of fans
5. Set up proper lighting conditions allowing for 6-10 hrs. daily
6. Presoak and disinfect "dirty" seed varieties
7. Avoid seeding too densely
8. Properly disinfect trays between plantings
9. Disinfect flood trays regularly with H202
10. Use the bottom watering method for microgreens

What Causes Mold in Microgreens?
Mold and fungi multiply quickly if given the opportunity so planning the proper grow space for your microgreens ahead of time is key to long-term success.
Many times, when you're dealing with mold in microgreens, poor drainage is the culprit. Microgreens need frequent waterings to grow, but pooling moisture left on the bottom of containers is often breeding grounds for mold.
We recommend microgreen growing trays with holes to prevent this issue. The trays with holes allow water to drain away from your microgreens and root systems into a flood tray. The flood tray can then be emptied, which will help reduce the excess humidity in the grow space.
The same type of moisture collection can also occur if you are using a growing media that does not encourage efficient drainage. We find that potting soils that include a good ratio of peat moss and perlite promote better air circulation and drainage. Pairing this soil medium with the trays with holes may be all you need to solve your mold problems.
Moisture in the environment can also contribute to mold, made worse by poor air circulation. The humidity level of your growing space should ideally be between 40-60 percent. If you live in an area where the ambient humidity is often higher than the recommended levels or your grow space tends to hold onto moisture, adding a dehumidifier to the space can help to regulate humidity levels.
Mold also prefers stagnant air for breeding and multiplying. Installing proper air circulation is key to minimizing this problem, especially if your humidity levels tend to be on the higher end as well. We recommend setting up circulation fans in your grow space like these ones designed for grow racks.
Lack of proper lighting can also agitate the problem. Mold prefers warm, wet, and dark environments. A full-spectrum light, like our LED plant lights, provides adequate lighting for the plants and disrupts the mold's life cycle.
If you're having a lot of issues getting your grow space regulated to the right conditions, we highly recommend checking out a pre-built grow rack set up like this one we have. We've done all of the calculations to ensure the right conditions are created for seedlings and microgreens, from the fans, to the lights, to the water system, and shelf spacing.
Should I Disinfect or Sanitize my Microgreens Seeds?
Many seed varieties require a pre-soak before planting. It is a good idea to add H202 to the water during soaking. Adding hydrogen peroxide to microgreens seed soaks can help prevent seed-borne diseases that could result in tray loss.
Another option is to soak your seeds in store-bought white distilled vinegar for 15 minutes, as recommended by the Kansas State University extension.
Some seeds are notorious for being "dirty" seeds. Although you should sanitize all of your microgreens seeds, the "dirty" seeds are ones you should make a point of sanitizing properly every time.
A few varieties that really benefit from sanitization are sunflowers, cilantro, and peas.

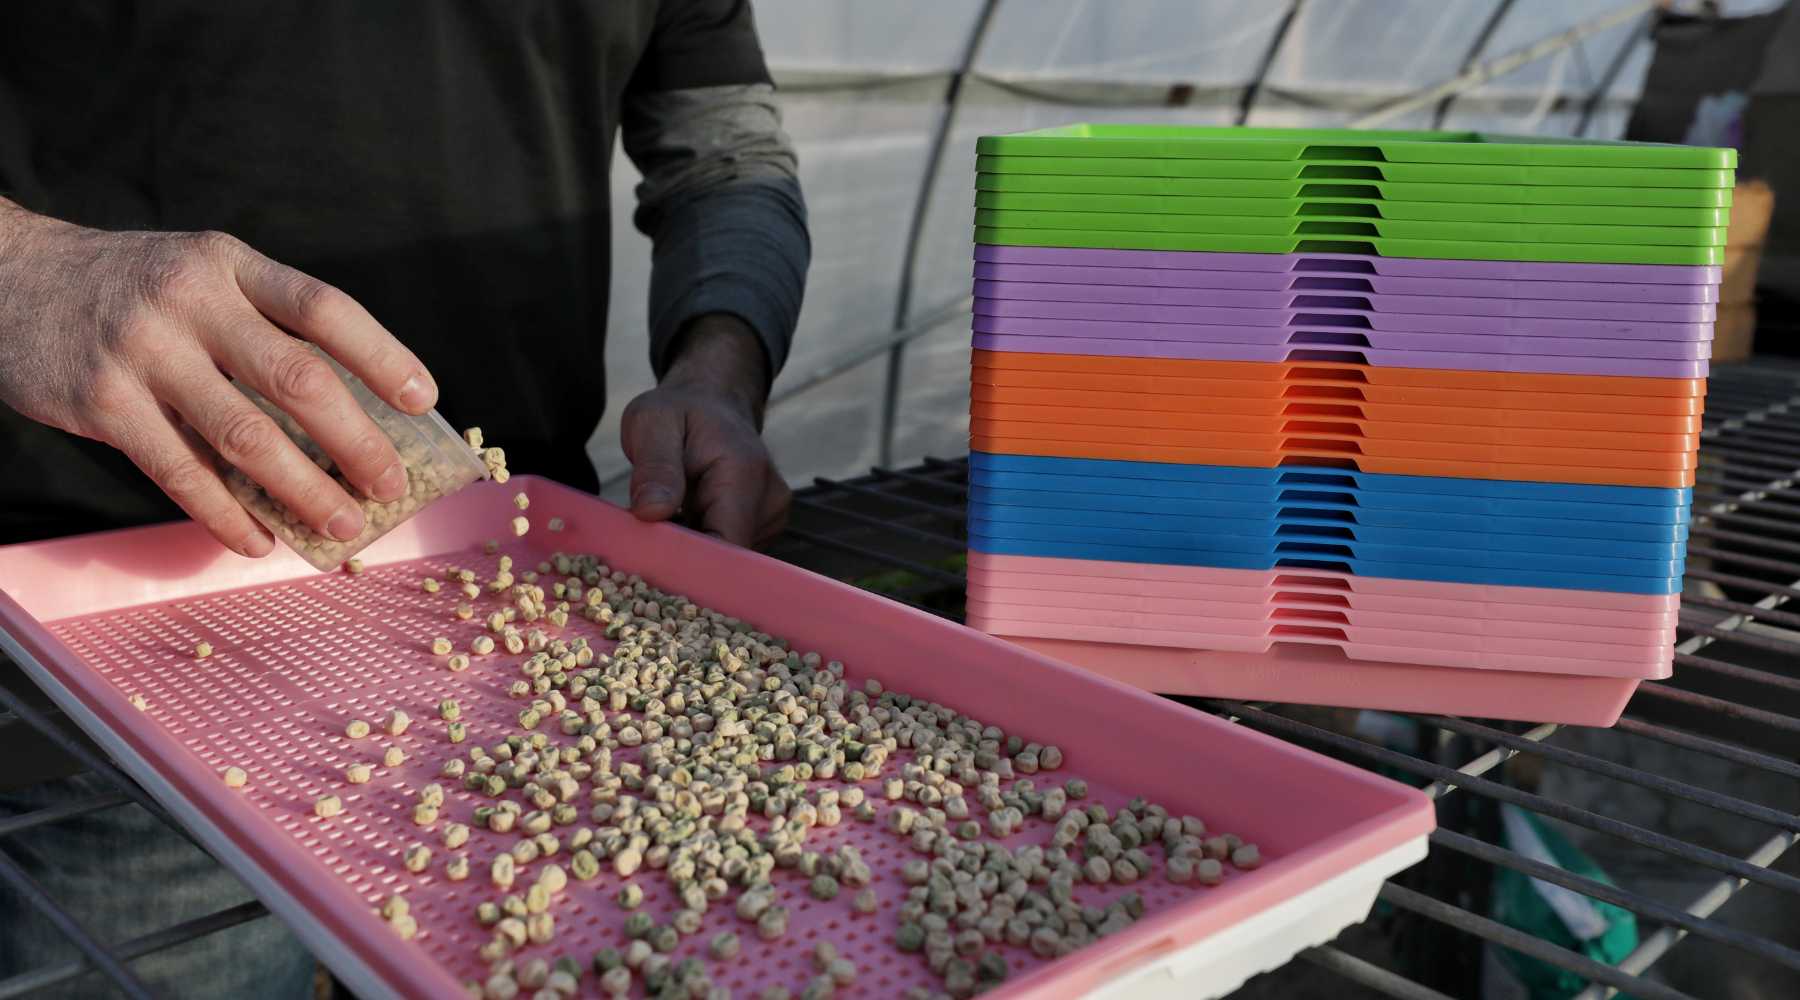
Seed Density for Microgreens
If seeds are planted too densely, they are not able to breathe and drain. The roots will mat up as they grow too closely together, which prevents efficient drainage. As the tray grows, it often becomes too thick to effectively circulate air through. This creates the perfect storm of mold growth.
To stop roots matting and overly dense growth, it's important to take into consideration the seed density you're planting your tray at ahead of time.
Seeds vary in weight and size depending on the type. Different types of seeds require different densities. You can't use one density for every type of seed! Knowing the appropriate planting density and then actually weighing out the seeds is the best way to start growing a uniform and healthy tray of microgreens.
We have compiled a guide, The Ultimate Microgreen Cheat Sheet, with many of the most common varieties and their recommended seeding rates in grams.

Keep it Clean- Preventing Mold on Microgreens in Your Grow Space
When it comes to prevention, keeping a clean growing space and equipment is always best practice. We recommend frequent cleaning of grow racks, harvesting equipment, and trays using soap, hydrogen peroxide, and vinegar (not all at once).
Cleaning your equipment regularly and in-between plantings not only helps prevent mold, but it also will stave off other diseases that could cause germination problems and microgreen losses.
Trays can be scrubbed with a basic mild soap, followed by a misting of diluted food-grade hydrogen peroxide water. You can mix one part of food grade 35% concentration hydrogen peroxide with 11 parts of water. Put this in an amber bottle and spray on all trays.
You can also use a diluted vinegar soak to help disinfect your trays. However, make sure you never mix vinegar and hydrogen peroxide together in one container. They each make great disinfectants when used individually or sequentially, but are dangerous when combined.
Let the trays air dry completely before stacking to prevent contamination with mold during storage.
(Related- How to Wash and Care for Seedling Trays)
Bottom-watering Microgreen Trays
Watering microgreens from the bottom ensures more even coverage for the tray. Otherwise, water can oversaturate areas of the tray, causing mold and rot. This also prevents damage to the delicate microgreens that can occur when top-watered.
To bottom-water your microgreens, you should nest your trays with holes into the same depth flood tray. Add 1/2" of water to the tray, wait a couple of hours, and then dump the water out.
It's necessary to dump the water out because otherwise, you could risk your roots sitting in the water constantly, which could lead to rot. This also helps reduce the ambient humidity around the microgreens by removing excess water from the growing space.
Our automated grow rack uses this flood and drain system to maintain optimum moisture levels, but it can also easily be done manually.
For more detailed instructions and explanations about bottom-watering, check out this in-depth article all about bottom-watering microgreens and seedlings.

How Can I Get Rid of Mold From Microgreens?
Not every tray is salvageable. We recommend tossing any tray of microgreens that has been contaminated with mold. Even if a tray is only partially covered with mold, spores could still be present throughout the tray. Some growers will use 33% food-grade hydrogen peroxide (in a spray bottle diluted to 3%) or grapeseed oil to mitigate light mold.
In our opinion, it isn't worth the risk.
The focus should be on prevention. Do that, and your likelihood of success goes way up. Once mold growth begins, it's better to cut your losses and start making changes to your growing space.
Can you eat moldy microgreens?
Eating moldy microgreens is a big no-no. Mold on microgreens is just as bad as mold on any other type of food. If you have microgreens that are contaminated with mold, the best thing to do is toss out the microgreens, sanitize your trays, and correct any issues in your growing area.
After that, you can grow them again. If you don't correct the issues before starting more trays, you'll find mold is a constant battle you'll be fighting and you'll have significant tray losses.
Don't be tempted to try and salvage your microgreens once they've started molding. Mold starts as invisible spores, so by the time you discover mold on your microgreens, your whole tray is most likely contaminated.
Also in Microgreens Guides & Resources

What Lights Do I Need to Grow Microgreens?
Microgreens grow well under a variety of light sources. This means it is easy to start where you are and add on as your needs and your available funds increase. A few trays in a sunny window for the home grower, up through multiple vertical rack systems with dedicated growing lights for commercial production.
Read More

How To Grow Microgreens Indoors - SEED to HARVEST
Whether you're just starting out or looking to refine your skills, this step-by-step guide will empower you to grow perfect trays of microgreens right at home.
Read More


A Quick Guide to Starting a Microgreens Business
When he started his farm and business in 2016, Donny Greens never imagined microgreens changing his life in the ways that it has. In this article, he gives you his best advice on how to start a microgreens business.
Read More