Starting Seeds on Your Urban Farm with Michael Bell
Seed Starting for My Urban Farm
Here at Dallas Half Acre farm, I have tried a lot of different methods, mediums, and equipment but finally came up with something that works best for me.
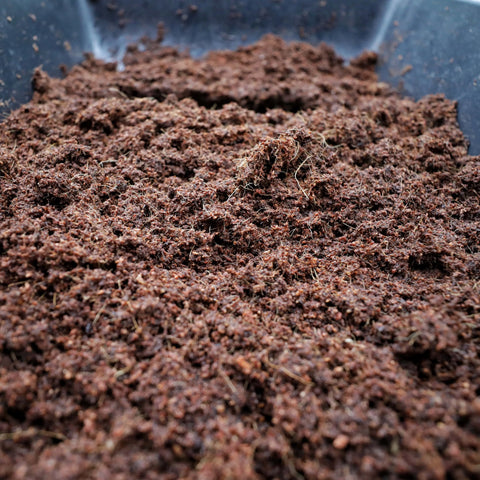
I keep things extremely simple with my seed starting mix; I use coco coir and worm castings, with the ratio being three parts coco coir and one part worm castings. I like this formula for a couple of reasons. First, the simplicity of it, two ingredients that are usually pretty easy to find, and second the water-holding capacity of the mix is great. I never worry if I miss a day of watering my seedlings because I know the coco coir will stay hydrated.
Another thing that makes this combination great is the ease of transplanting the cells. They never crumble or fall apart like other cells when using multiple other seed-starting mixes that I’ve tried. The coco coir usually comes in 1.3 lbs. bricks from Bootstrap Farmer. Using the ratio of 3 to 1, it will seed about 5-7 72-count air pruning trays.
Pros of Coco Coir as a Seed Starting Medium
One of the great things about this product is the water-holding capacity. I find it holds water very well but will not soak up too much water that the seedling drowns. Another great advantage to coco coir is the ease of storing it while it is waiting to be used. Bricks of it can be stacked neatly in a corner and pulled out one by one to use when needed, unlike bags of perlite or vermiculite. Finally, the seedling is always perfectly intact when I go to transplant, meaning it slides out of the tray in the same shape as the tray hole. I never have the root balls fall apart on me when transplanting.
Why use Worm Castings for Seed-Starting
Worm castings, which are also known as vermicompost, are the purest organic form of fertilization, in my opinion. They have a neutral pH level of 7.0, which is vital when adding amendments to your soil. There is zero risk of overusing worm castings and burning your plants’ roots. Finally and most importantly, they also introduce innumerable amounts of beneficial microbes, bacteria, and fungi into the soil when you transplant.
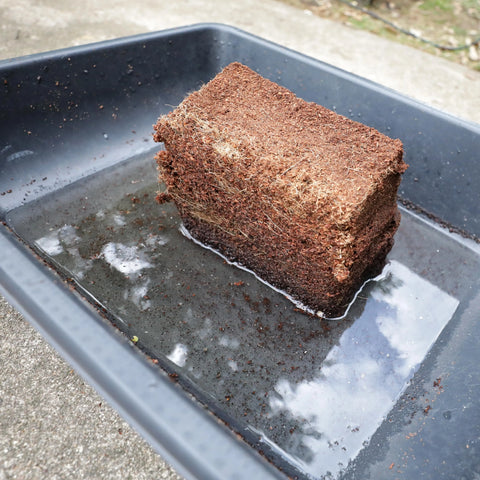
Soaking Coco Coir
When I’m ready to start making my seeding mixture, I first take a brick of coco coir and soak it for a few minutes. The brick will literally expand in front of your eyes when water is added. I then take my brick and start peeling the outer layers of it into another bucket.
When I hit another dry layer I pour more water on it and continue this process until it's completely broken up and ready to use. You can also soak it all at once and then break it up; it’s a personal preference, and both ways work. On a side note, if you have a young child who always wants to “help you,” breaking up the wet coco coir is a perfect job for them. It saves you time, they enjoy it, and it is pretty difficult to mess it up.
Combining Coco Coir and Worm Castings
After the coco coir is saturated and broken up I begin the mixing of the two ingredients. As stated before, I use a 3 to 1 coco coir to worm castings ratio. I like to use an old hard plastic drinking cup to mix it together. Other than watching for clumps that may not have been broken down, this process is extremely simple. You can use a 5-gallon bucket to mix everything in, but I prefer something with a wider base and shallower so I don’t have to reach as far.
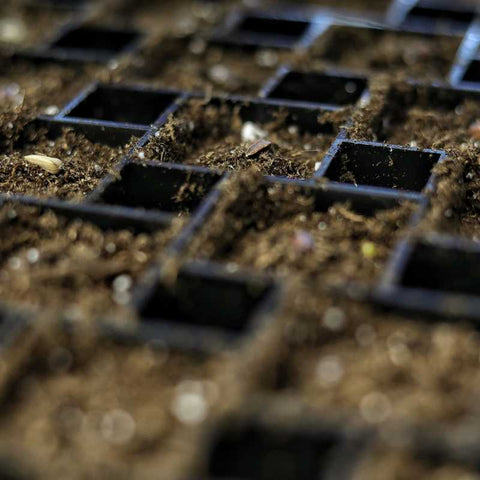
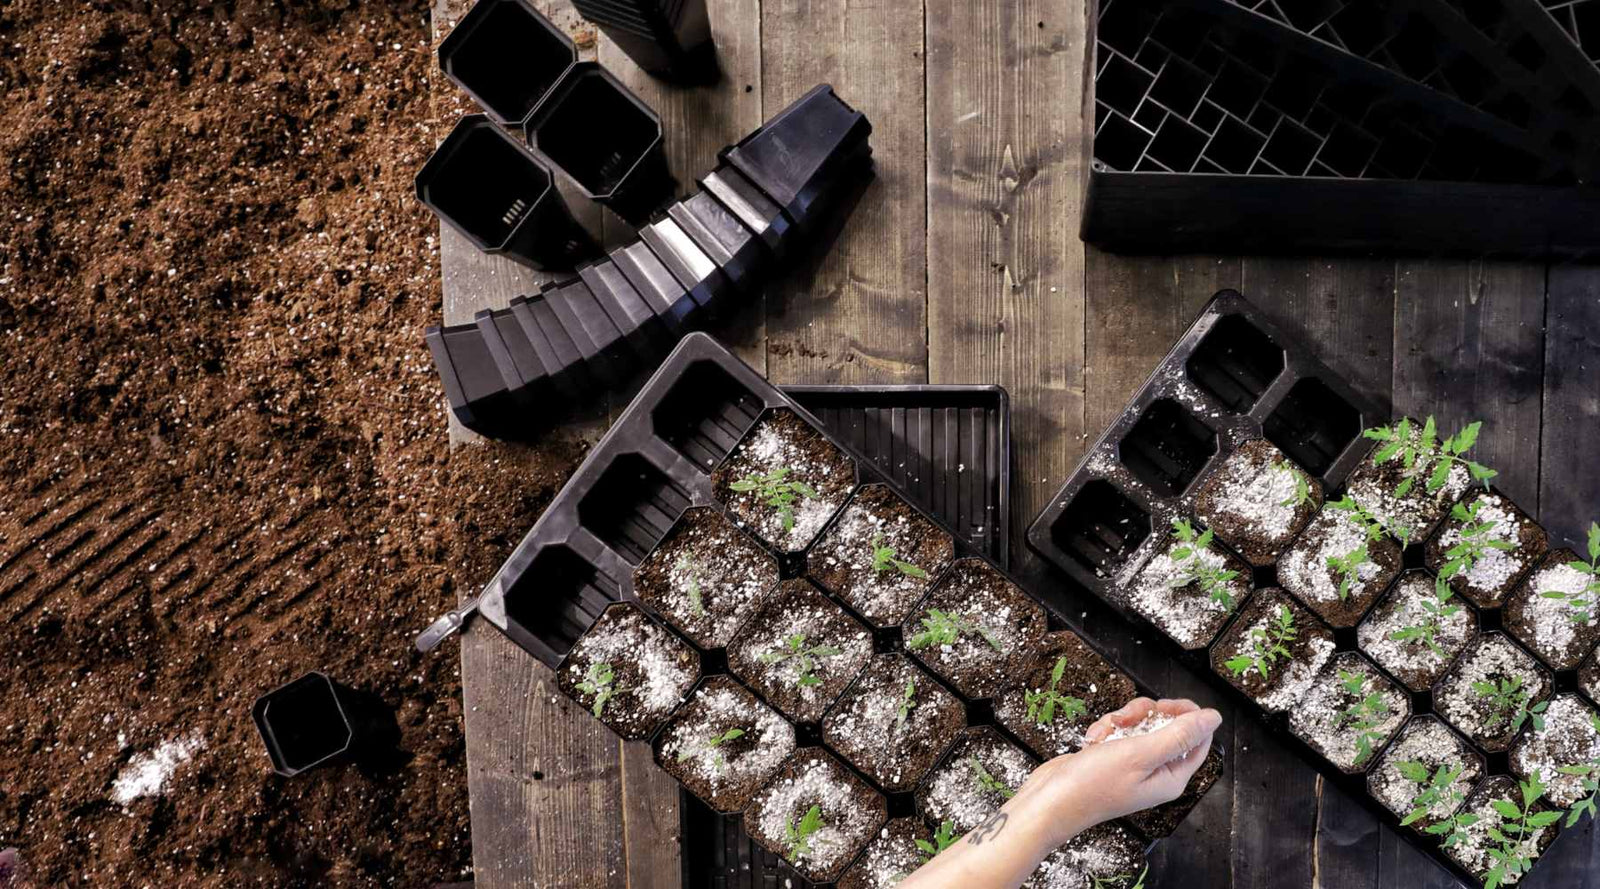
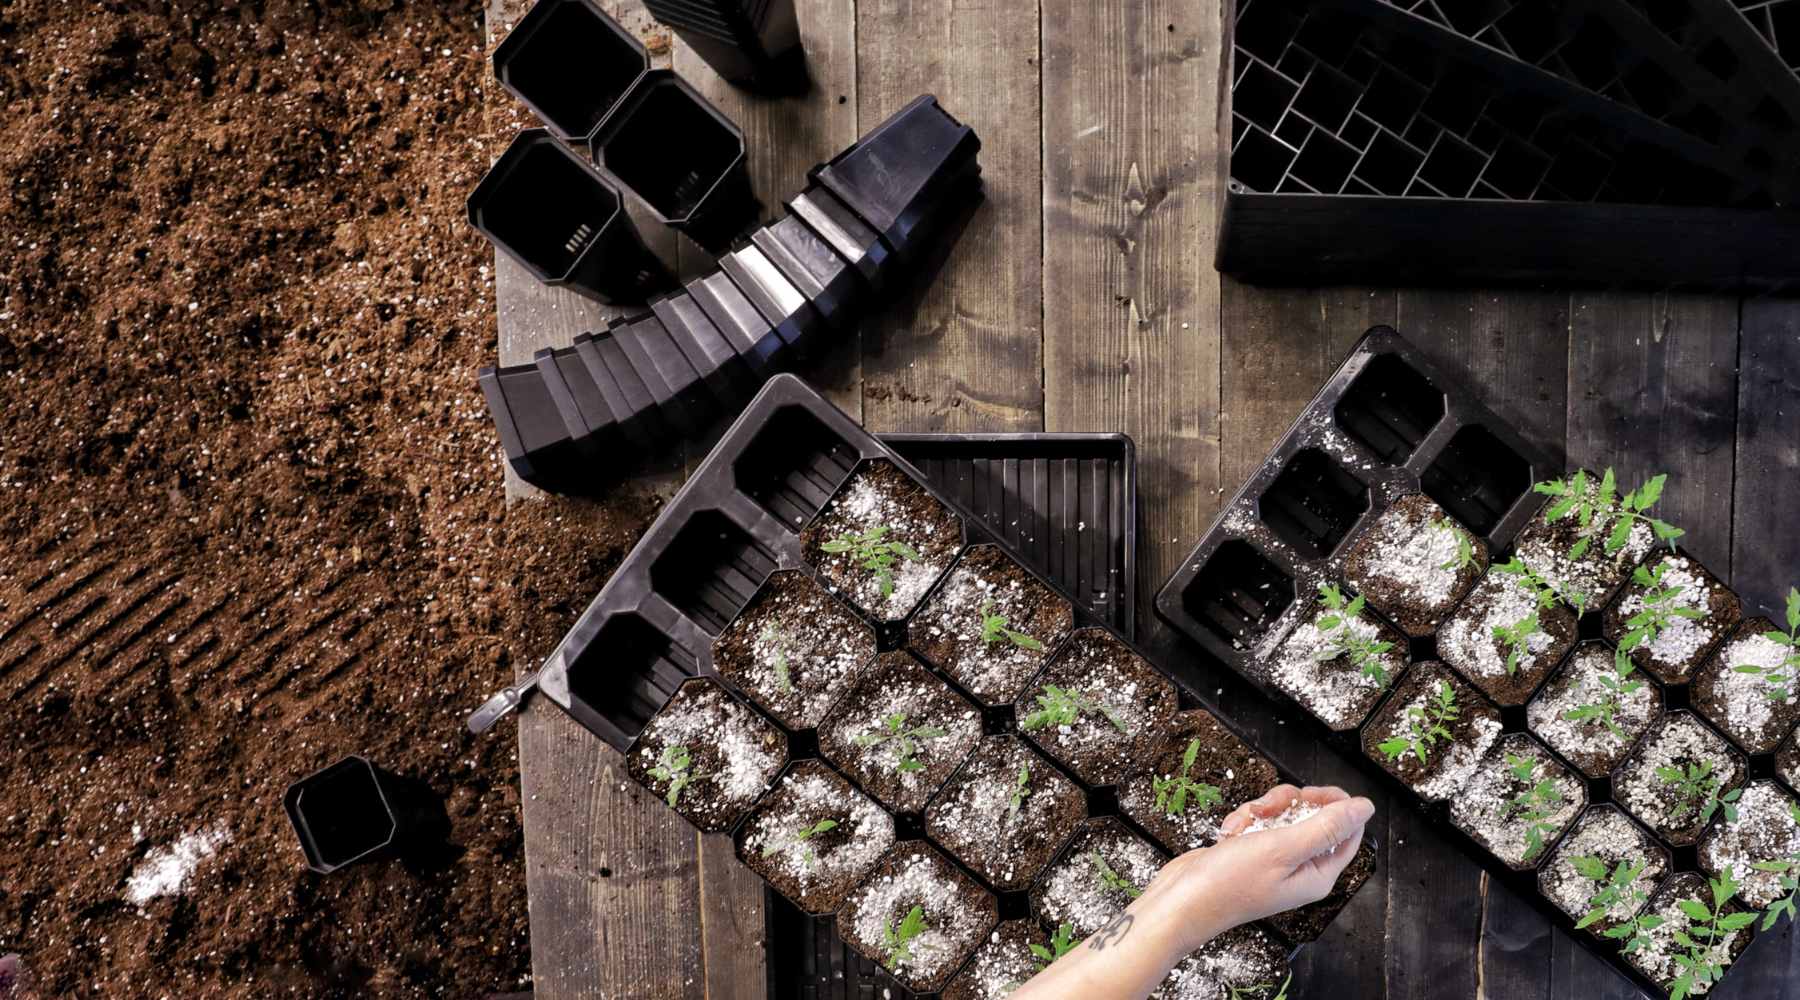
Filling the Trays
After mixing the two ingredients, I am ready to fill the trays. This is a two-step process for me. Using the same cup I used to combine the ingredients, I now fill the 72-cell air pruning trays. When the cells are filled, I take another tray, lay it on top of the freshly filled tray, and give a good push down; this compacts the growing medium into the cell, giving it a dense, strong structure that will hold together perfectly when transplanting.
Then, remove the top tray and fill the 72-cell tray again. I usually repeat the filling and compressing of the tray three times. This sounds like a lot of work, but after one or two trays worth of practice, it will become 2nd nature and should only take a minute or two.
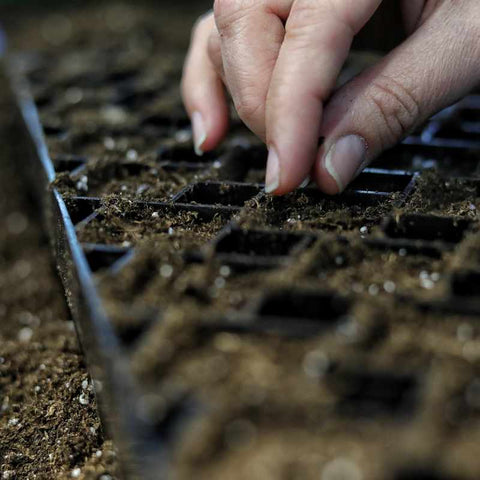
Using a Plug Popper for Efficiency
The next step in seed starting can be a bit tedious if you’re using the end of a pen or Sharpie like I did for years to make the seed holes. However, thanks to the plug popper, I now save several minutes per tray when making holes. Simply flip the plug popper over and gently press down to give you perfect seed holes. When the holes are made to your liking, simply place the seed in the hole. Covering the seed can be done two ways, which I have found neither to be better than the other. You can either cover the seed using the material around the seed or give the 72-cell tray a light dusting of more material.
Watering Post Planting
I like to give my trays a light spraying with either a water bottle if I only planted one tray or if I planted 2 or more trays, I will lay them on the ground and water using a hose and a wand with the wand on the mist mode. I find this type of “overhead watering” gives the seed a good soil/seed compaction level to ensure more uniform germination. After this initial watering, I always bottom water to help keep disease off of my leaves.
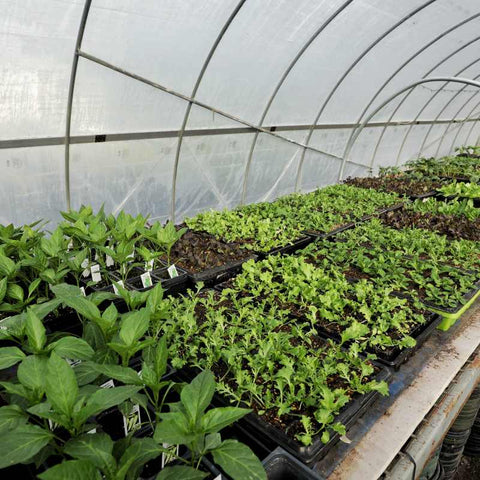
Starting Different Seed Varieties on Your Farm
The only thing I really tweak when starting seeds is using a heat mat. I usually start my first round of tomato and pepper seeds on Dec. 26th, so they are ready to transplant into the field around March 15th. Tomatoes and peppers need more heat to germinate than lettuce or other greens. Most prefer temperatures between 75℉-80℉. I seed these two varieties using the same potting soil mixture, but I then use a heating mat to lay the trays until the seedlings are up and looking strong.
Depending on the location of your farm you may be starting your tomatoes and peppers later in the season or starting a second round in the early summer to keep you high tunnel producing well into the fall. In both cases, you may need to pot up your seedlings to ensure you have big transplants ready to go. I like using the 3-inch pots that came in my market gardener bundle to make sure they are ready to grow and start producing as soon as possible when the heat rolls in.
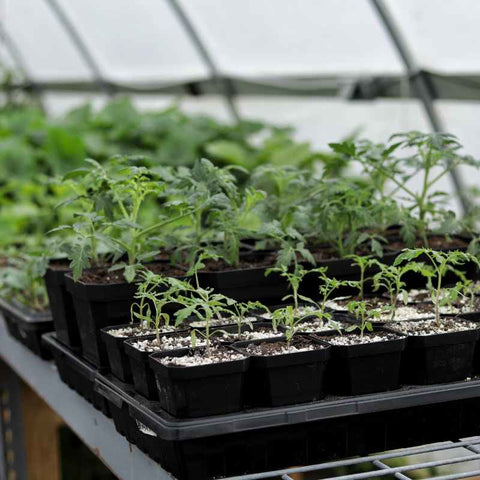
Keep Your Seedlings Thriving
2 weeks after germination of all plant varieties, I add a higher nitrogen organic fertilizer to give them an extra bump in growth. You can use many types, but my usual rule of thumb is something like a 5-1-1 mixture. I add in what the directions say to my watering container (IE. 2 tablespoons per gallon), then pour ⅓ to ½ a gallon of this mixture per tray. Within a week, you will see a very nice growth spurt and stronger-looking plants.
Putting it all Together
Let me reiterate: this is how I do it, and it works best for me. If you read 20 different articles on seed starting, you will see 20 different ways to start seeds and water them after germination. I recommend you try several methods and then figure out what works best for you through a little trial and error. Good luck this season!
Written by Michael Bell of Dallas Half Acre Farm.
Featured Products