Trellis Netting | 6" Mesh
Trellis Netting for Cutting Flowers and Vines
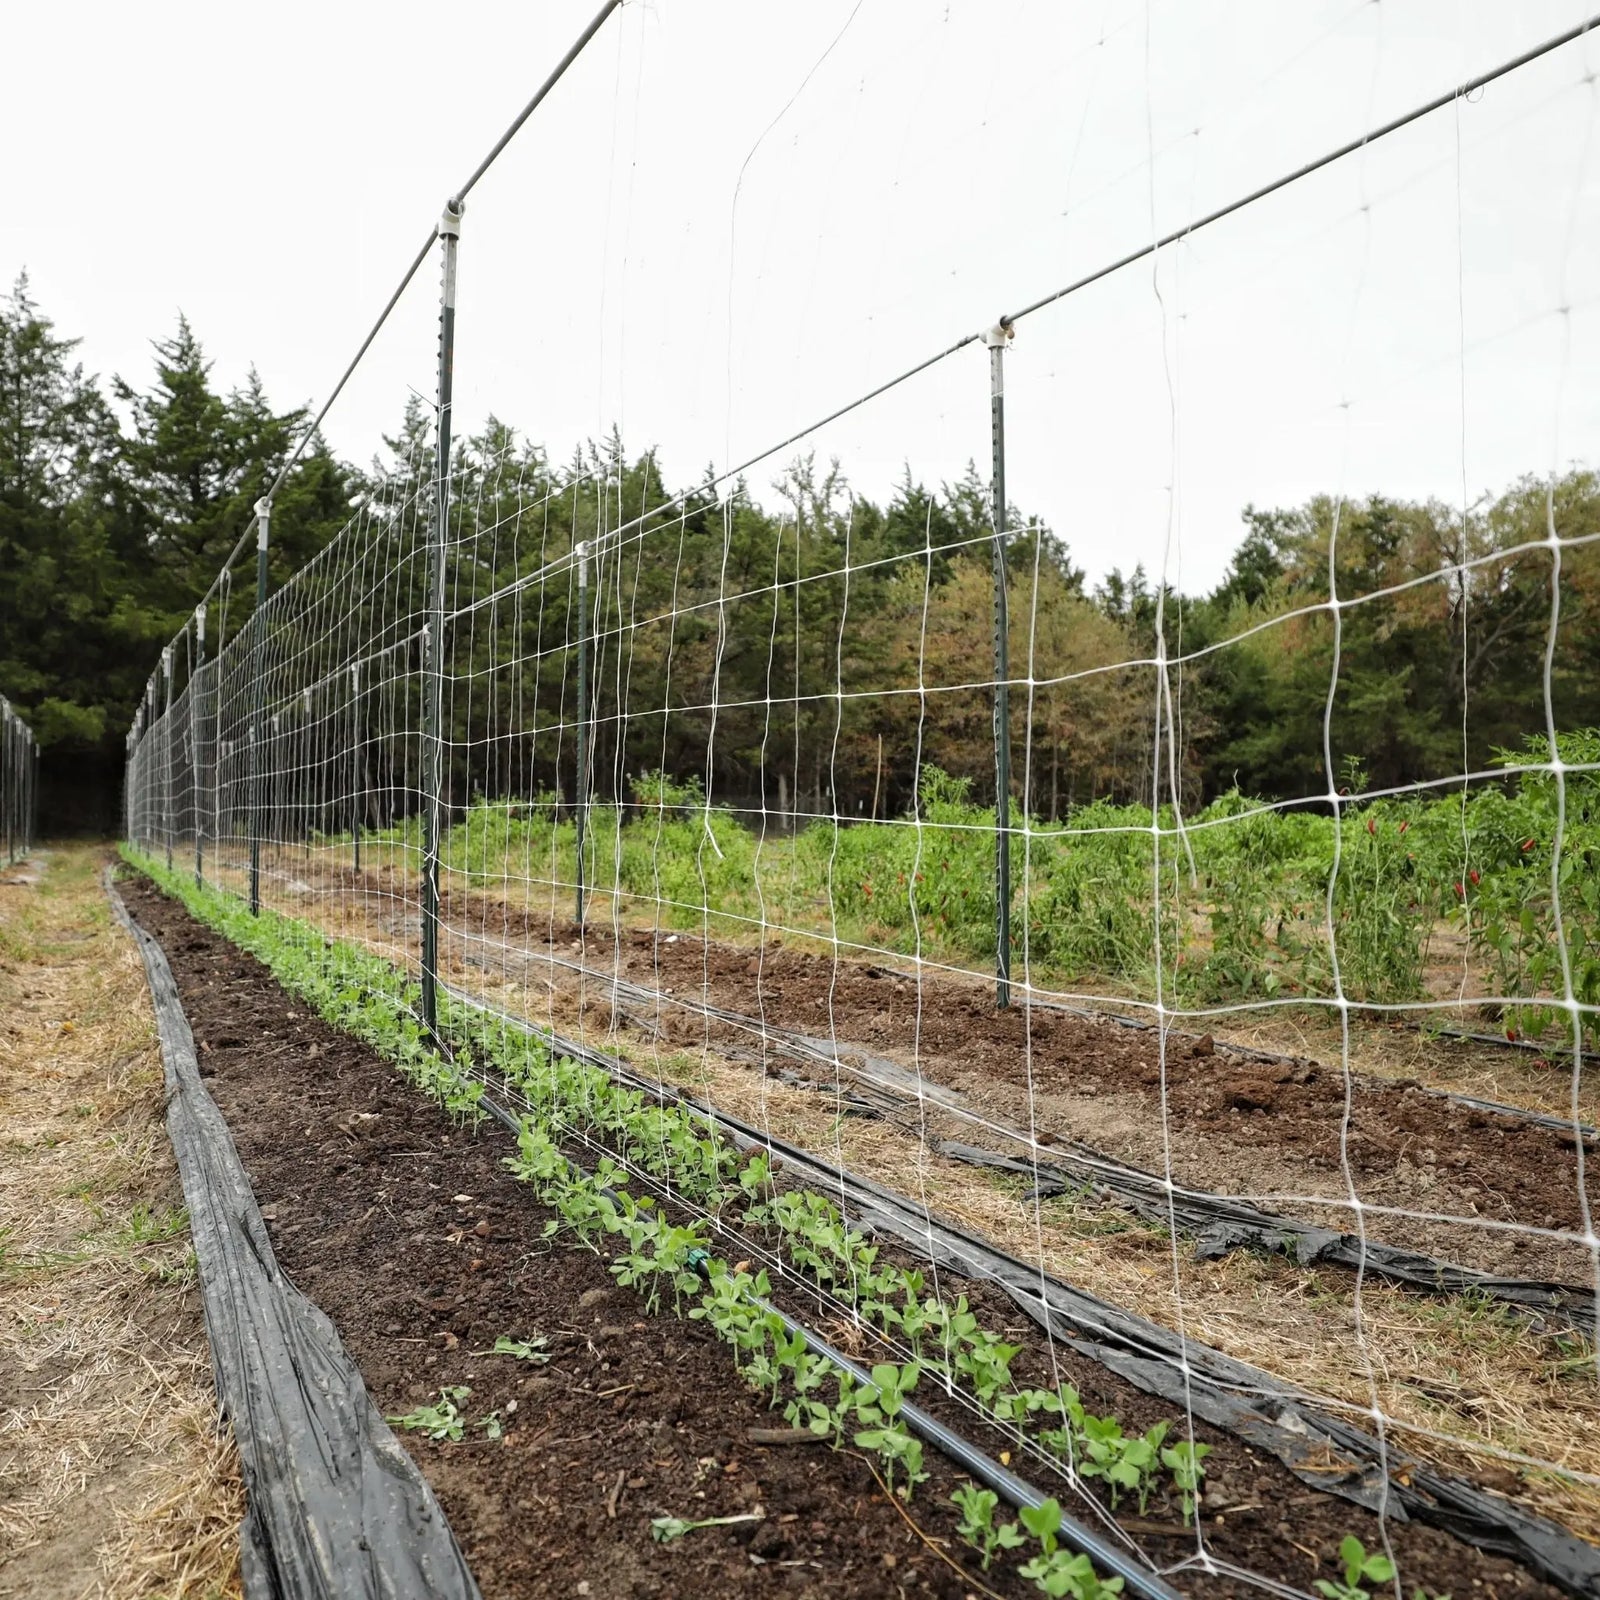
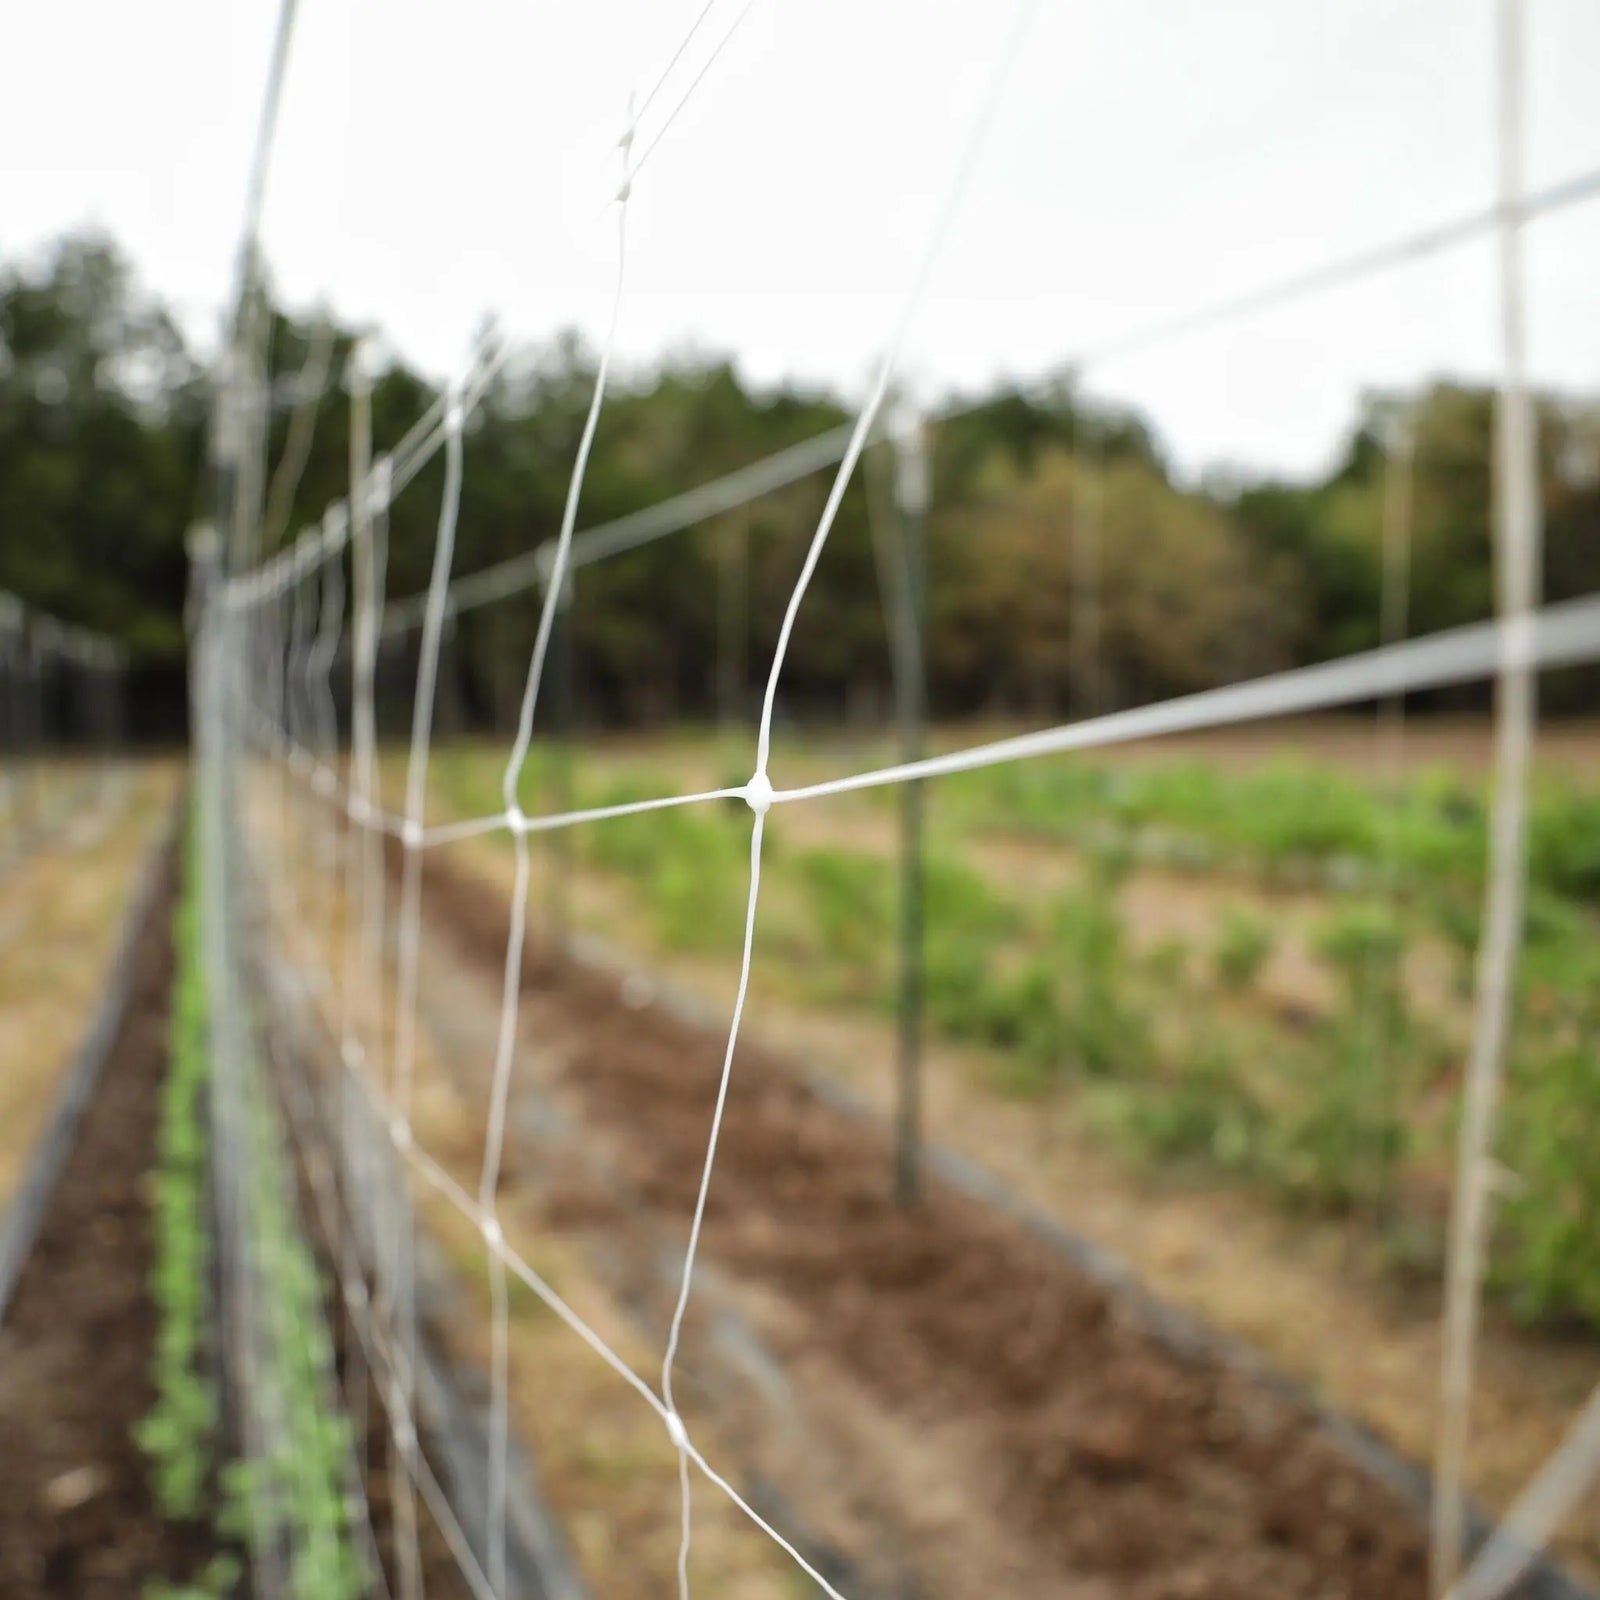
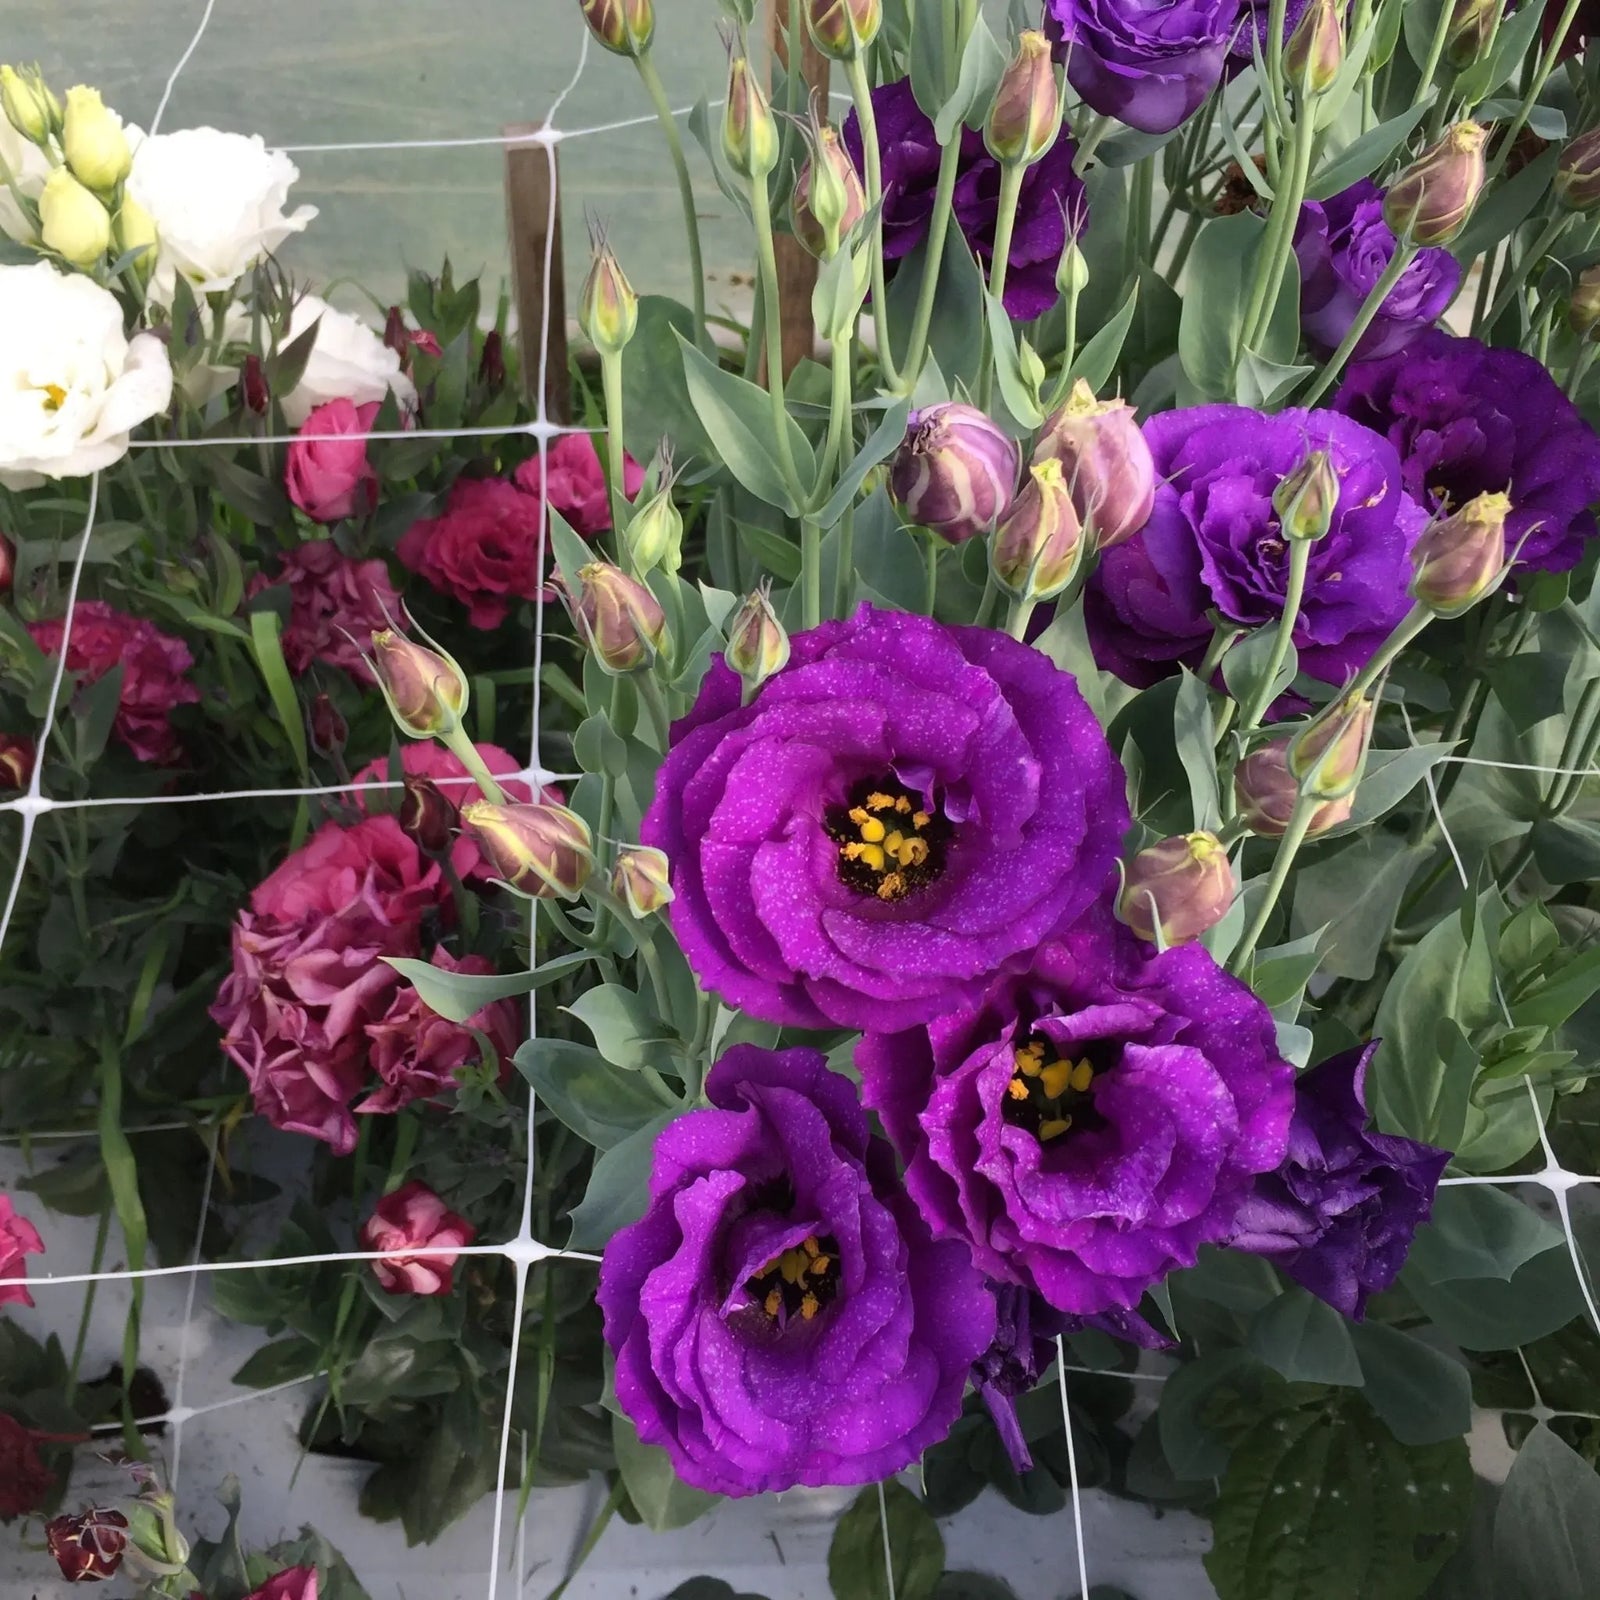
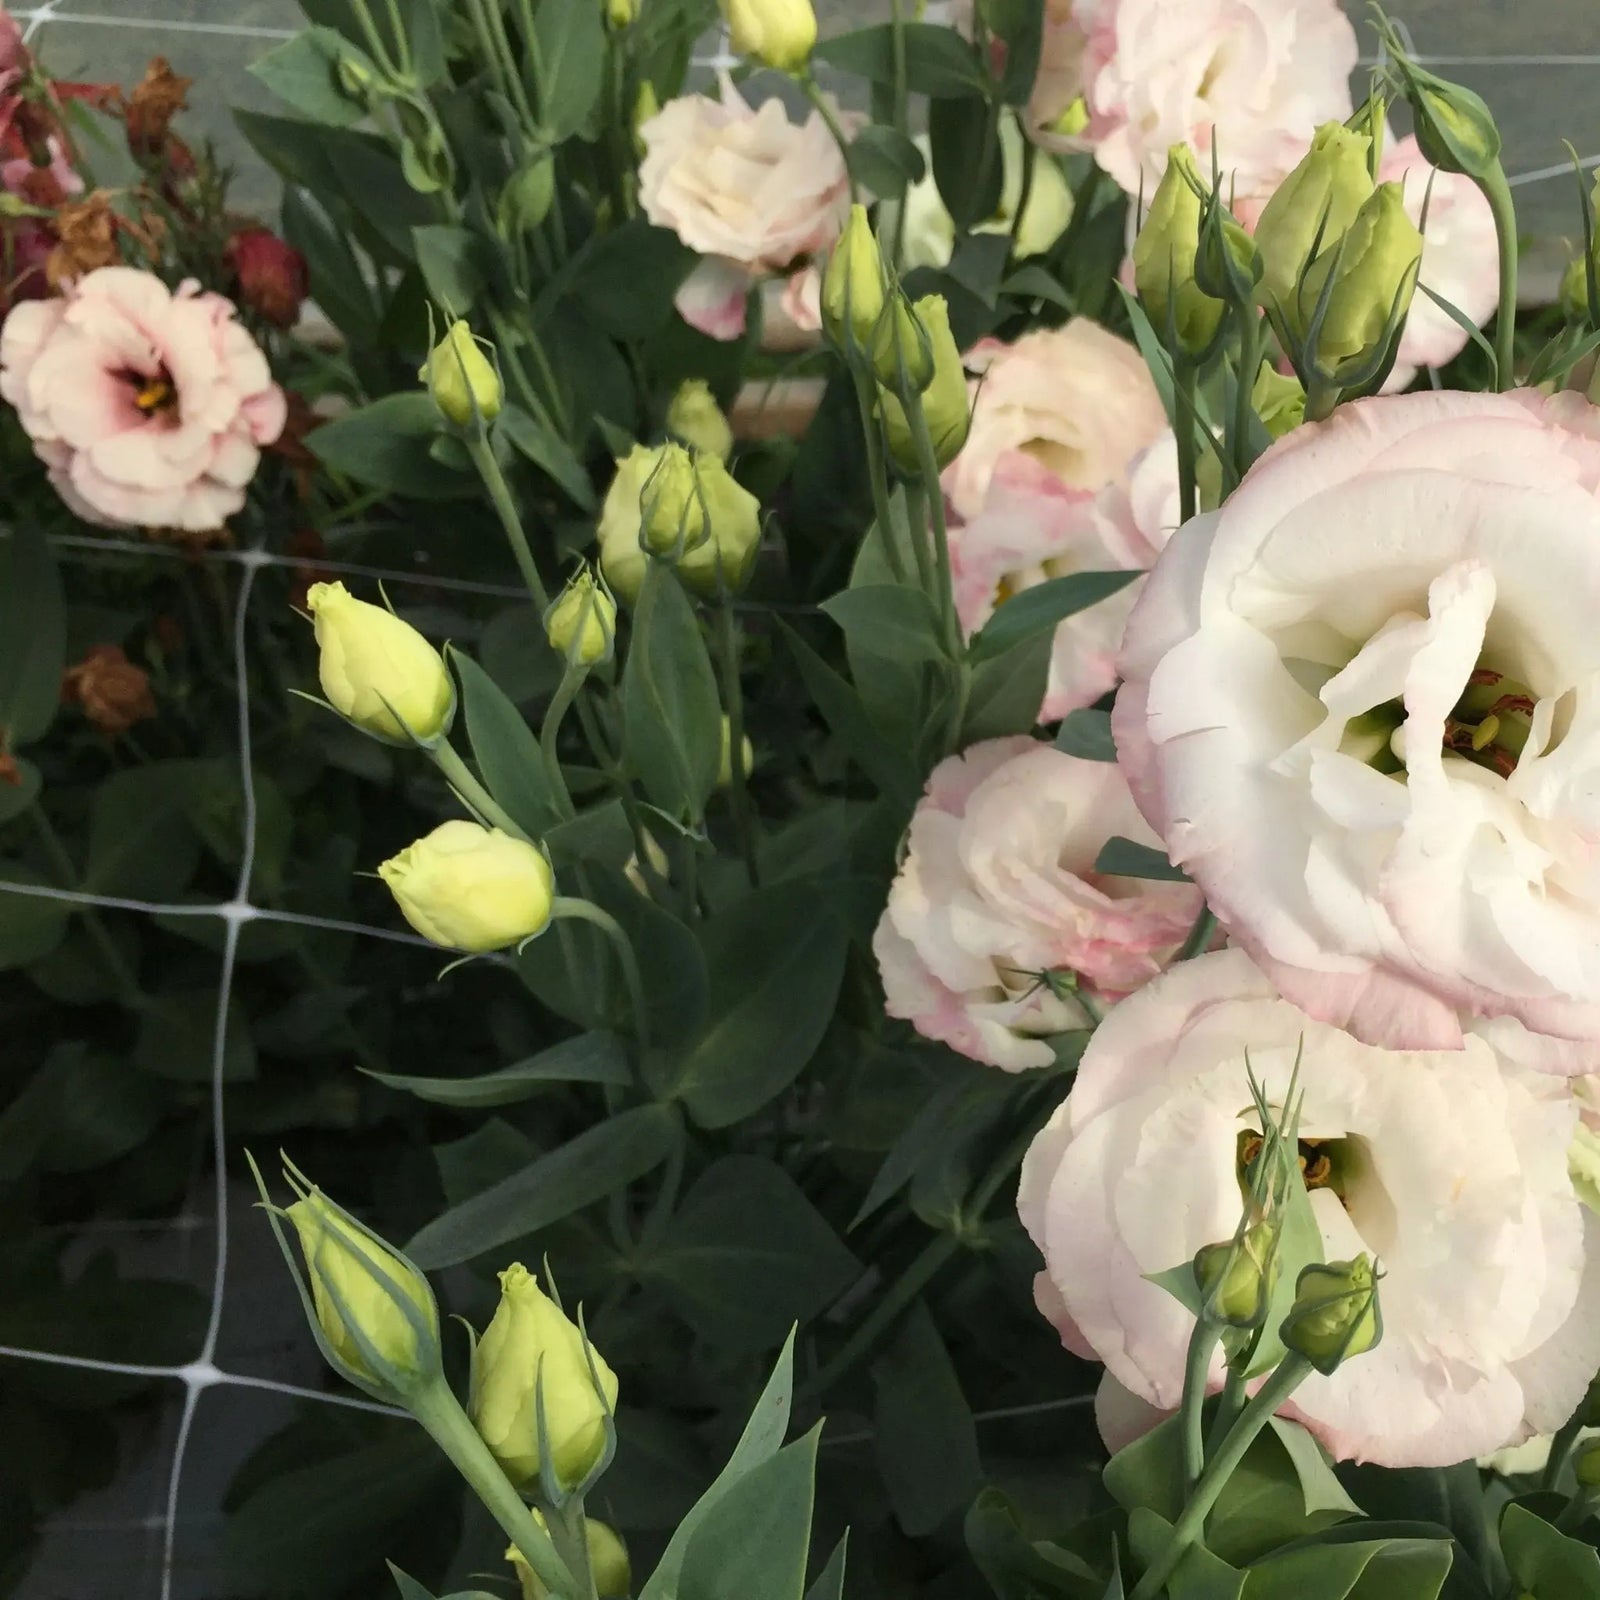
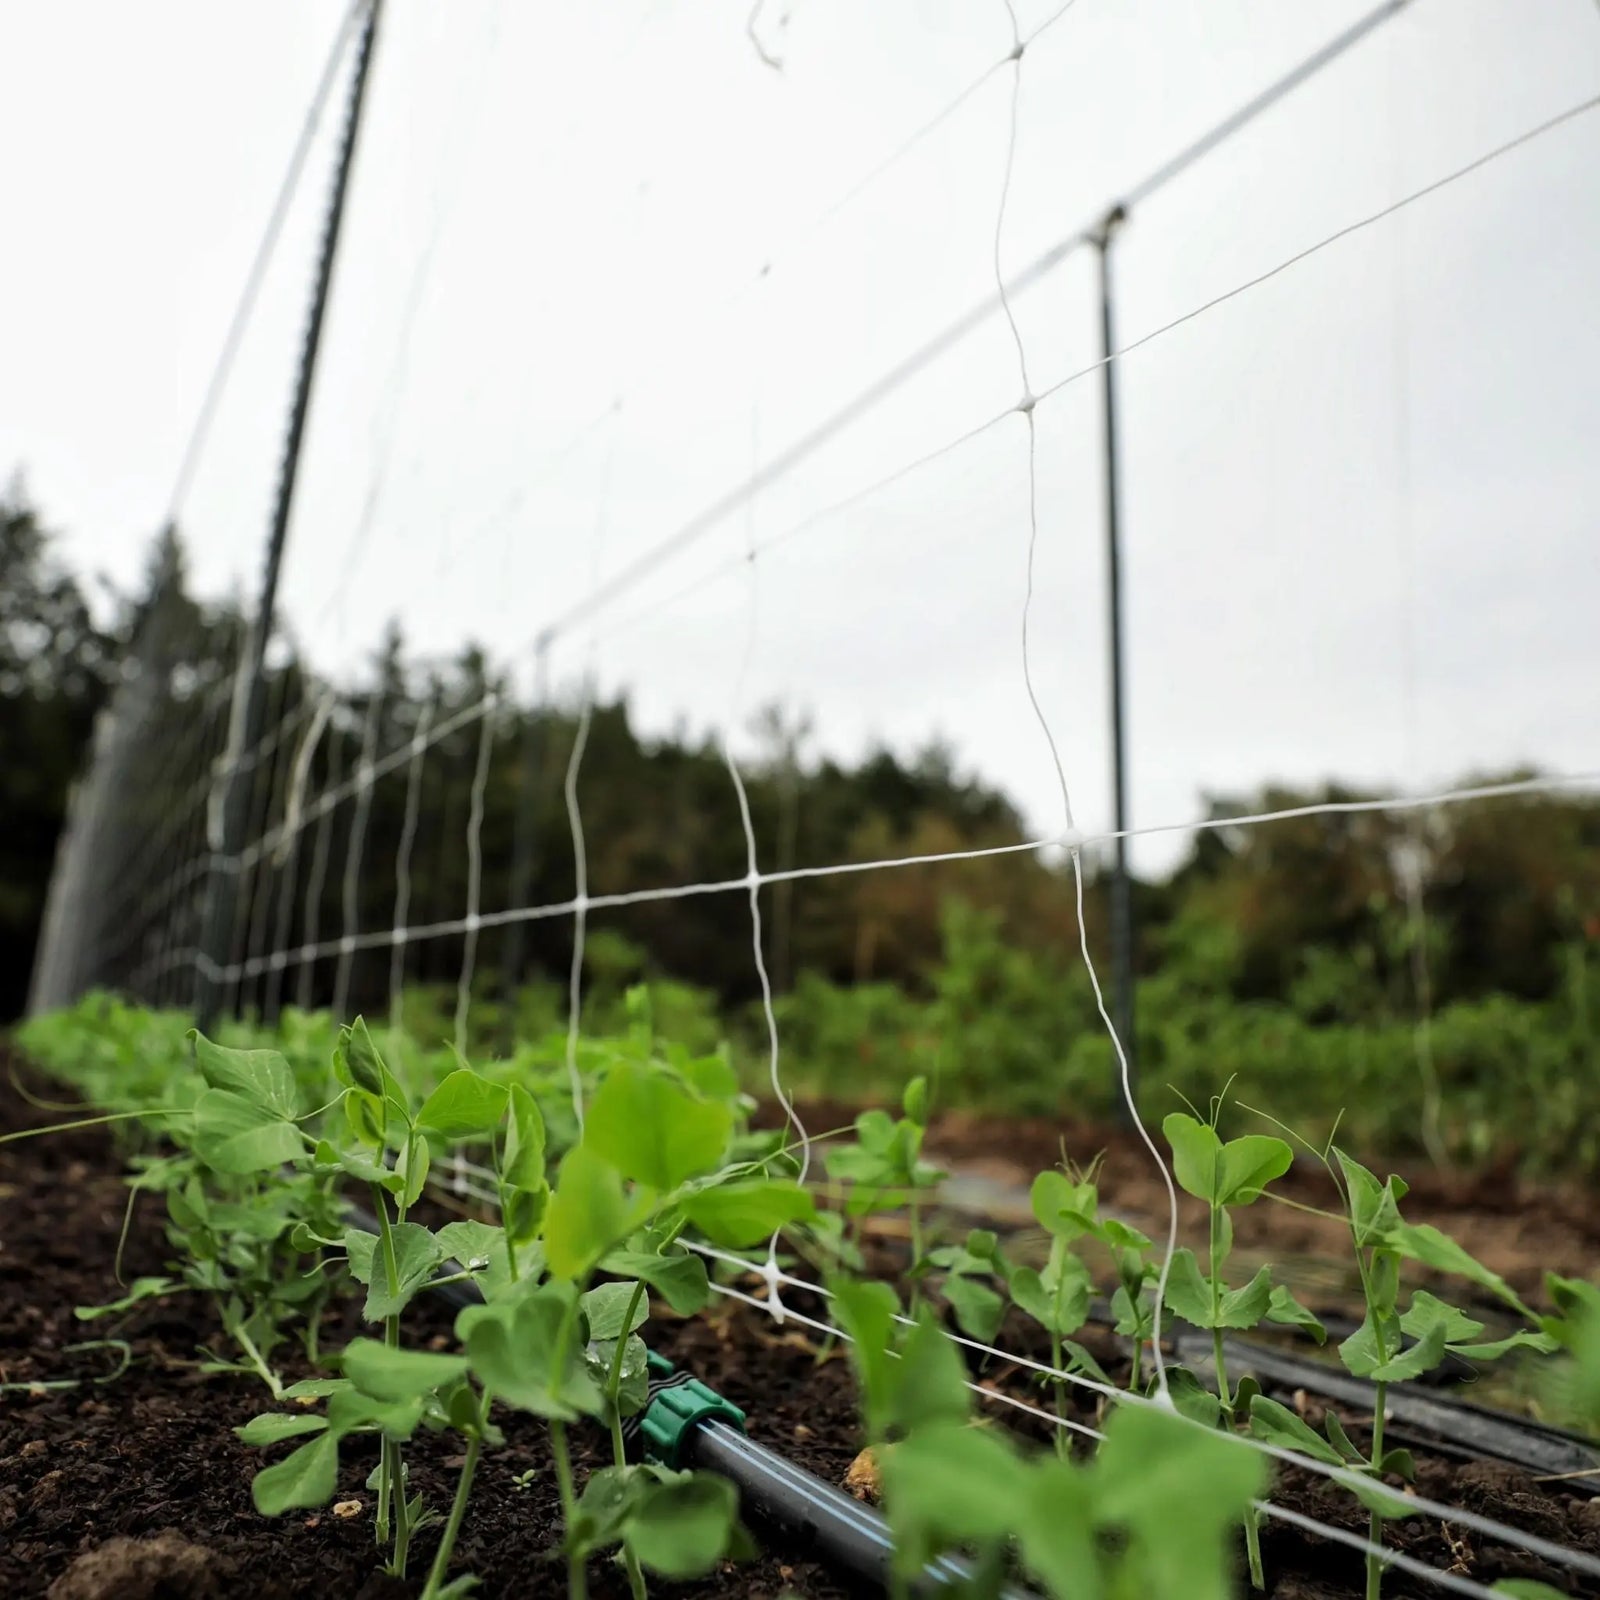
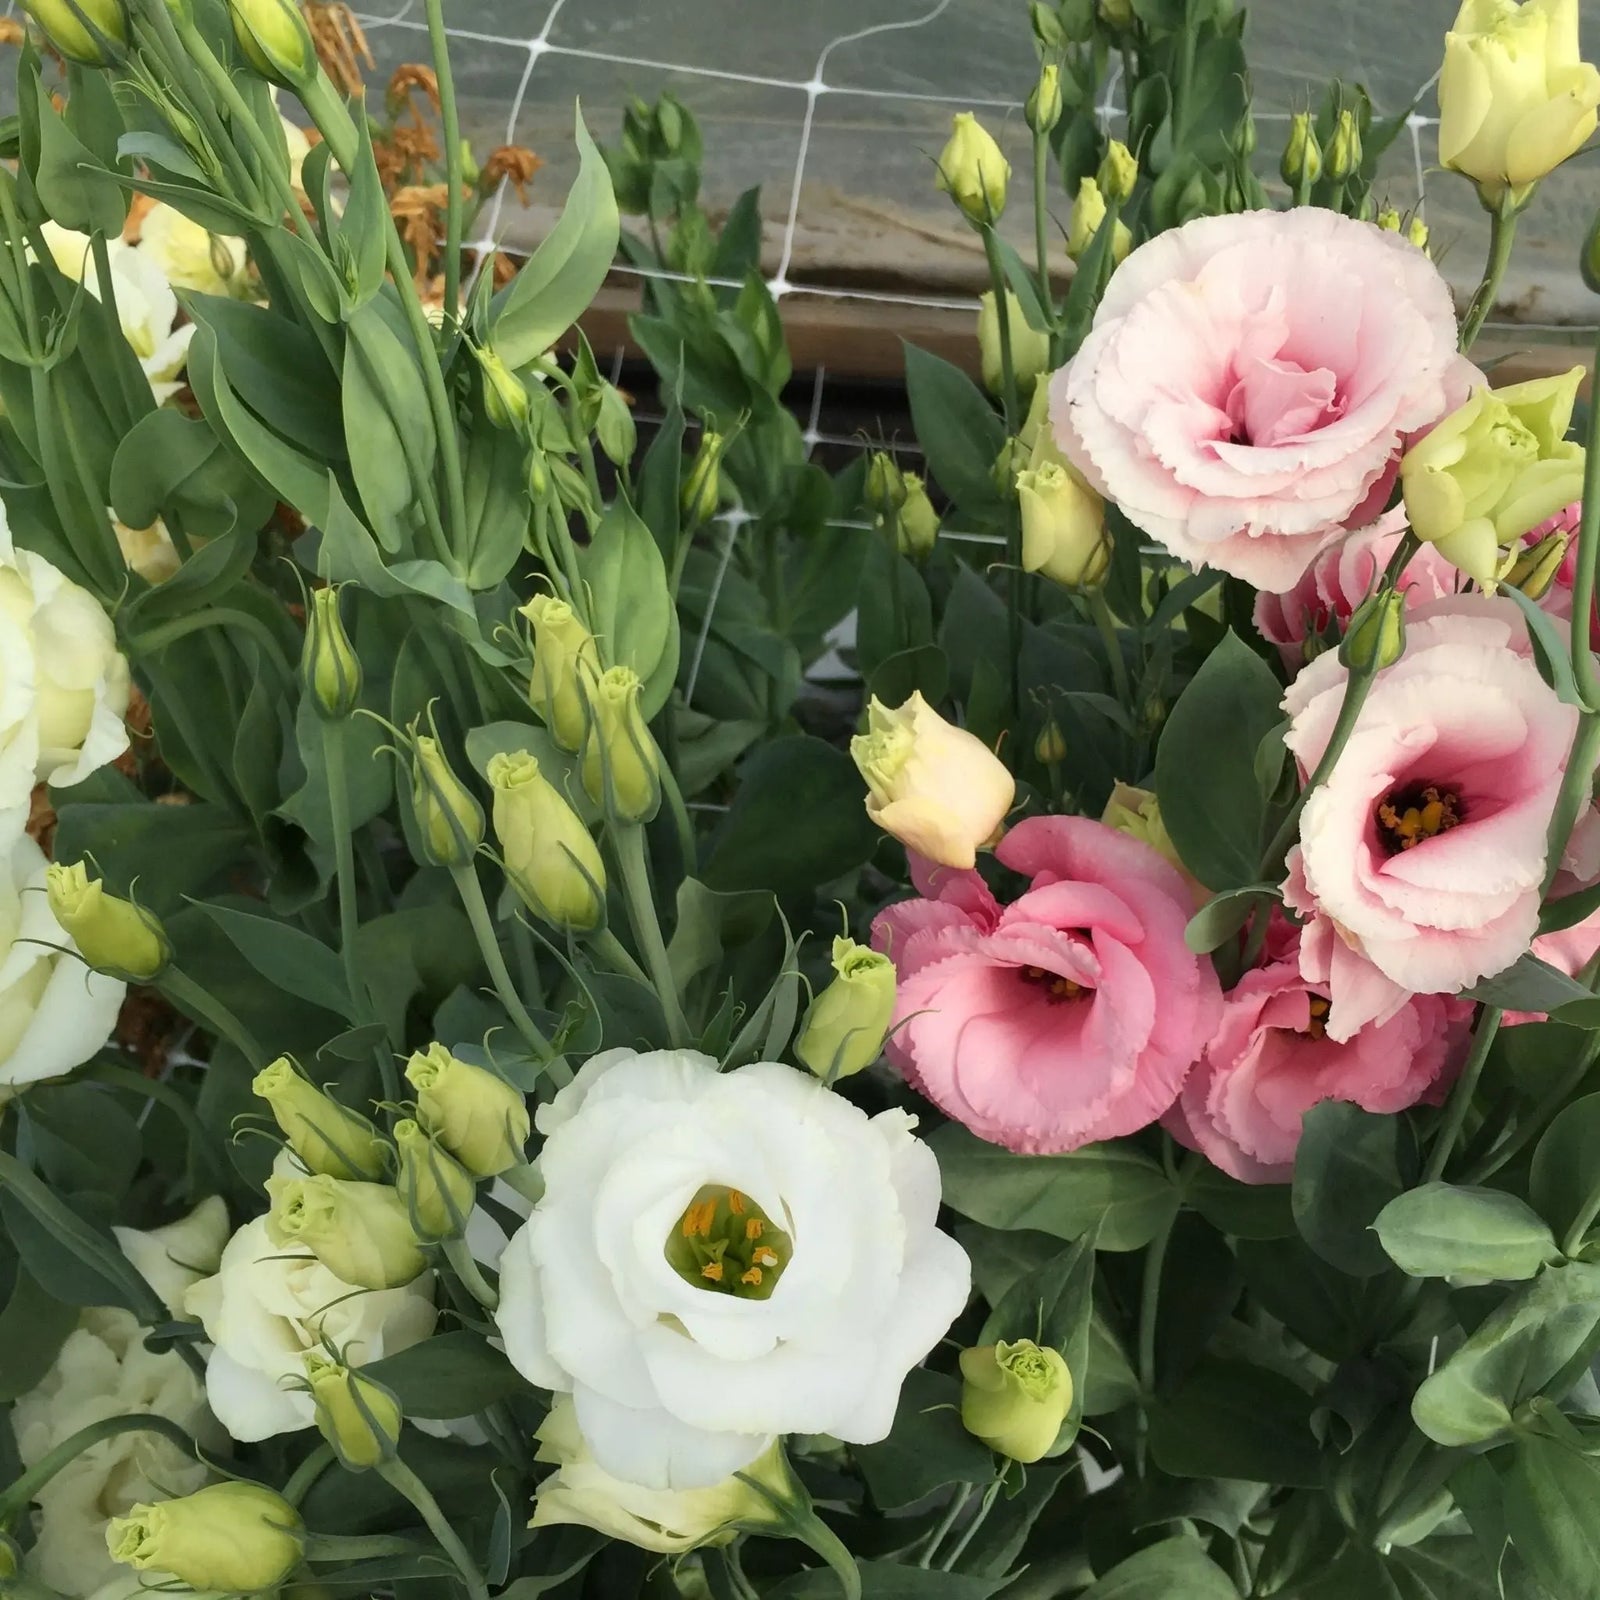
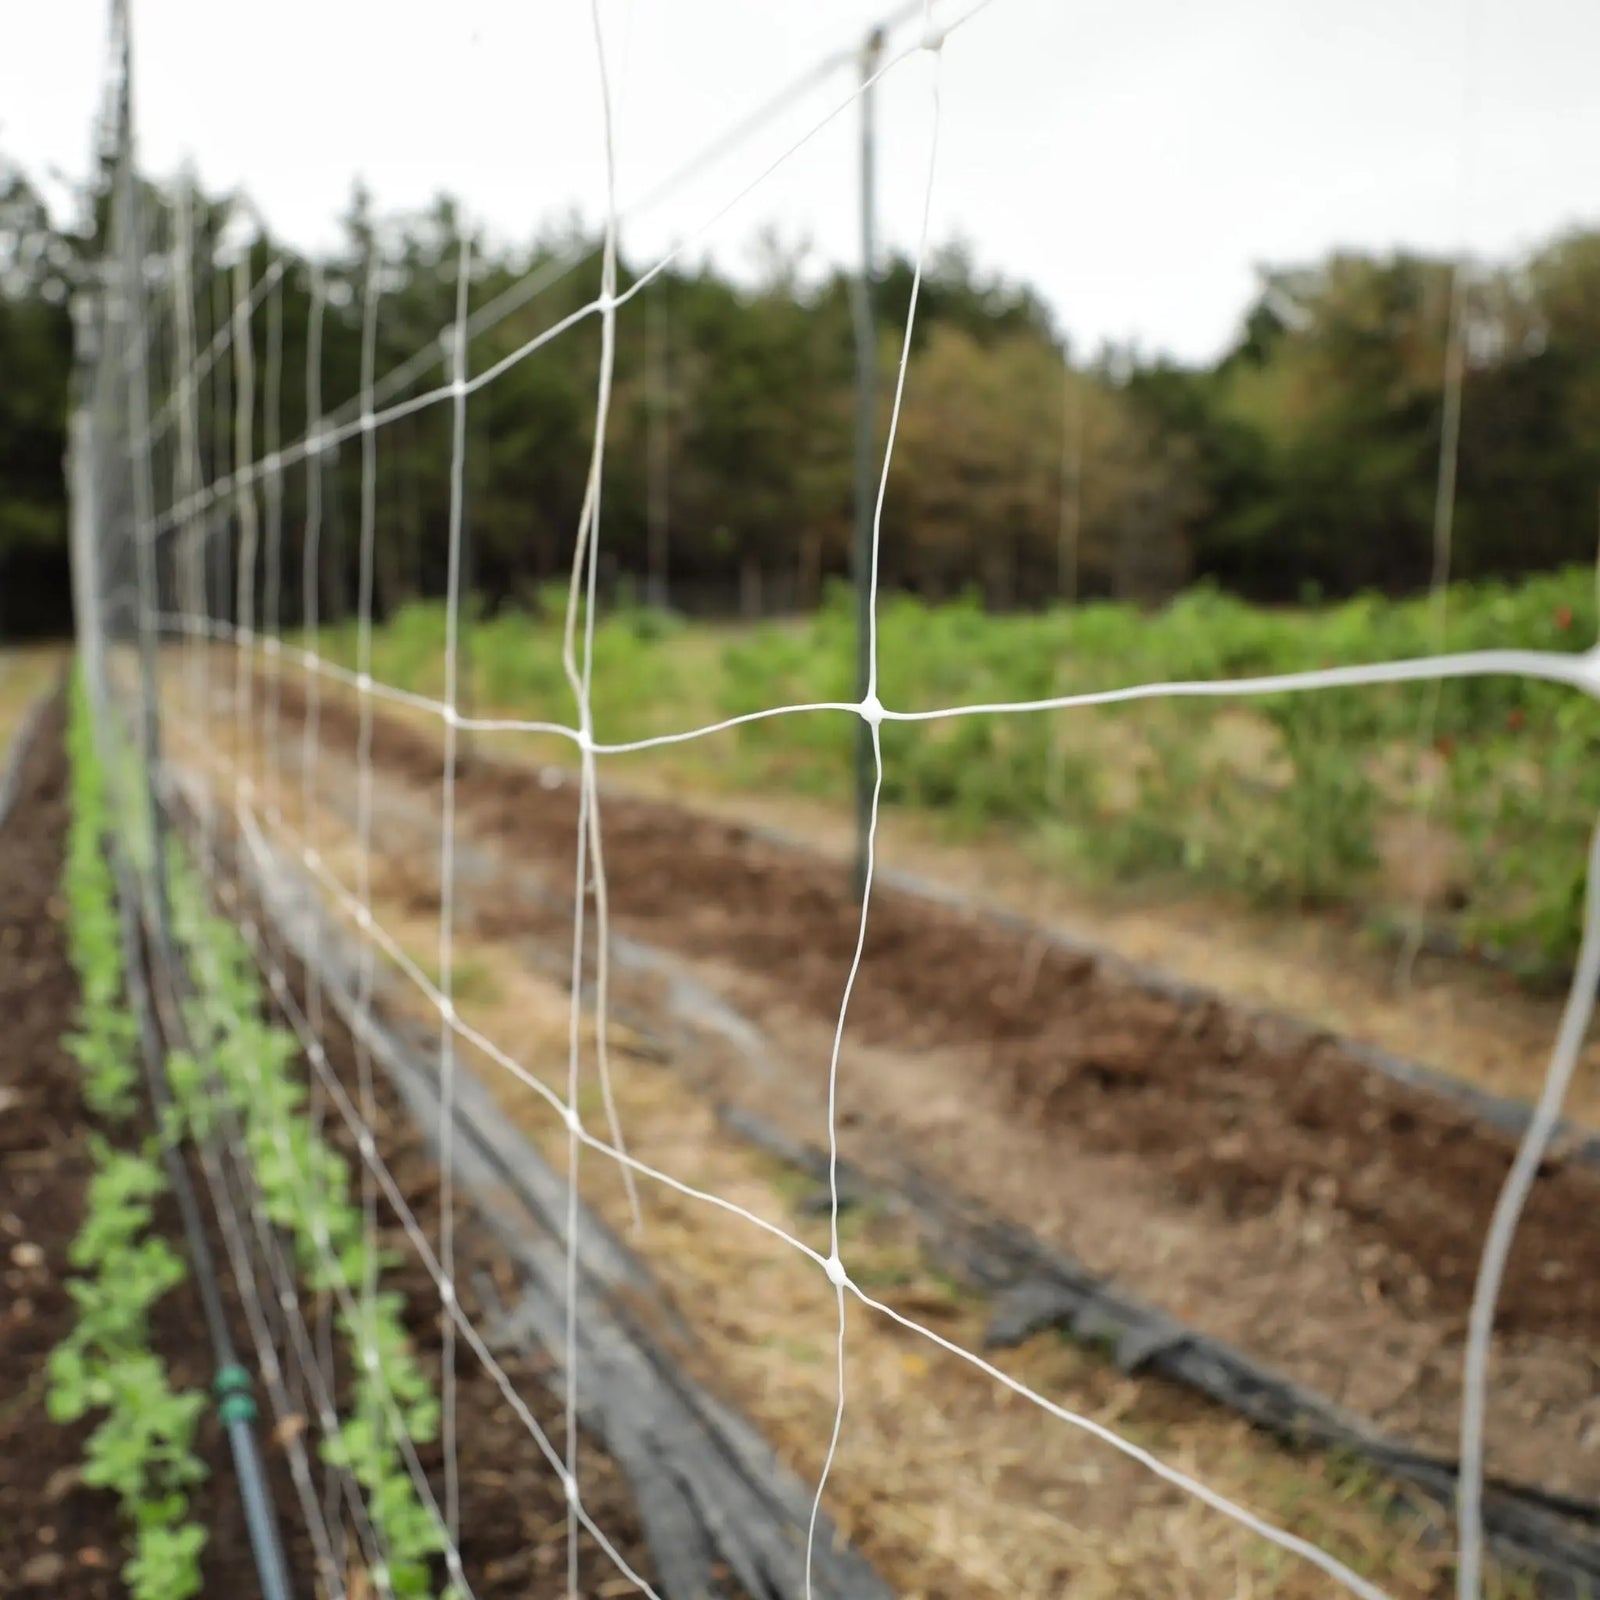
This durable, lightweight polypropylene trellis netting is perfect for supporting vegetables, training stems for cut flowers, and tall vines, allowing more airflow and sunlight to reach the plants. This space-saving 6" mesh net is available in 3', 4', 6' widths. Get better yields and raise healthier plants using this UV-stabilized, chemical-resistant trellis netting. You can also use this trellis net horizontally for long-stem flowers such as dahlias, zinnias, and the like. Keep peas and pole beans supported with horizontal netting. Reduce blemishes on fruit and grow straighter flower stems with supportive trellis netting.
Note: It is imperative to keep the netting taut as birds can become entangled in the loose mesh.
Key Features
- Supports crops for better airflow and sun penetration
- Perfect for supporting long-stem cut flowers for straighter stems
- Flexible, tear-resistant
- UV-stabilized
- Helps better utilize garden/greenhouse space
- Made of durable polypropylene
- Works perfectly with vine clips
- Better yields and crop success
- Creates easier working area for better weed management
- Reusable season after season
- Mesh size approx. 6"x 7"
- Netting thickness- 8g/sqm
HOW DO YOU INSTALL FLOWER NETTING?
Netting can be installed both vertically and horizontally depending on the need. Both are very simple, straightforward processes.
Vertical Trellis Installation:
To install netting vertically, insert support posts down your rows at approximately every 20'. Next, attach the net to the support posts using string or twine. We suggest that you snake a support cable such as metal wire or other strong cord or string through the netting at the top to support the net. Tie or clip your plants to the trellis netting as they grow and begin climbing. Some plants have tendrils that will tie themselves to the netting.
This style of installation is also used for vining crops in the vegetable garden or market farm. Vegetables and fruits like peas, cucumbers, and tomatoes all benefit from support as they grow.
Horizontal Trellis Installation:
Install garden trellis net horizontally for cut flowers. Use several layers close together. First, start by putting four wood or metal supports into the ground. Install the first two posts at equal width with your netting (i.e. 3' apart, 4' apart, 6' apart). The second set of posts should be installed 6'-20' wider. The height of the posts would depend on what you are growing.
Next, screw or bolt wooden cross bars between posts 1 and 2, and between posts 3 and 4 at the different heights that you will space your layers of trellis support at. The heights will depend on how tall your plants will grow. Typically this would be at 12", 24" and 36" from the ground.
After that step, attach the trellis netting to the cross bars by wrapping them around the crossbar and then tying string or zip ties around the net and crossbars to hold it in place.
Finally, unroll the lightweight polypropylene trellis support netting and attach it to the cross bars between posts 3 and 4. You can continue the row by putting support posts, and cross bars every 20' apart and making the layer as long as you want. Then do the next layer the same way.
Want more information about trellis netting? Check out this helpful article.
Free shipping on orders over $75 to Contiguous US
Shipping Policy
Most products will ship from our facility in 1 to 2 business days after the order is placed. Express shipments placed after 12PM EST will be shipped out next business day. Full details can be found on our Shipping Policy Page
Returns Policy
Returns can be made on most products within 30 days of purchase. After 30 days we unable to offer a refund or exchange. Certain products are non-returnable. For full details visit our Returns Policy
QUESTIONS & ANSWERS
Have a Question?
Be the first to ask a question about this.


