Seed Starting in the Classroom

Why starting seeds in the classroom is a great idea
Starting plants from seed offers students a multitude of learning experiences. The opportunity for life science lessons abound from discussions about adaptations, life cycles, and photosynthesis. There are also great ways to discuss and practice the scientific method. Because plants grow in varied ways depending on the environment they are placed in, it is easy to develop science experiments with controls and variables of all kinds.
Growing edible plants from seed is also a way to expand on healthy eating habits and long-term lifestyle changes that keep kids healthy. Research has repeatedly proven that children exposed to growing and gardening eat a wider variety of foods and are more likely to choose fruits and vegetables.
Growing plants and working in school gardening programs also improve students’ test scores overall. As outlined in the Rutgers article linked here, “Students who engage in school gardens show significant gains in overall grade point average, specifically in math and science.”

What you need to start seeds in the classroom
These guides will explain the basics of seed starting in the classroom and the necessary supplies. Whether the resulting plants are planted in a school garden, sold for fundraising, donated to community gardens, or sent home with students is entirely up to you.
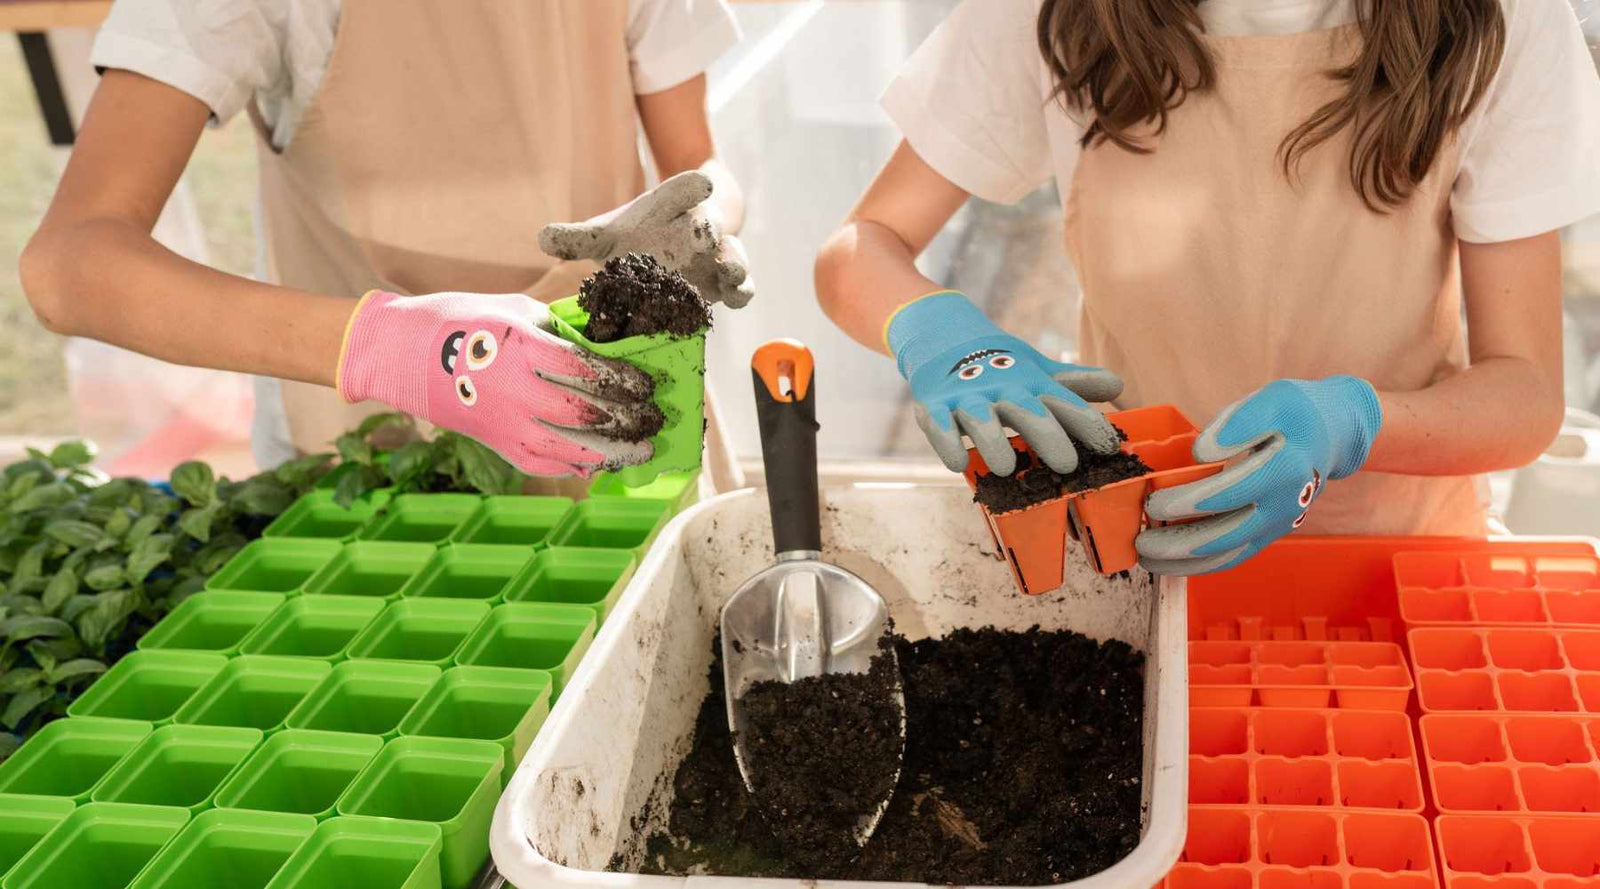
First, you will need small containers for your seedlings. Since space is always at a premium in the classroom, starting in smaller containers and potting up into larger ones as needed will help keep things growing. Our classroom seed starting bundle has all the supplies you need or you can use what you have on hand,
You can buy purpose-built cell trays like our 6-cells or use something like egg cartons to start. We like to use our 2.5-inch pots for larger seeds and potting up. Disposable cups can be used, too, but they are difficult to reuse. No matter what you use for planting, you will need waterproof trays underneath to keep counters clean.
In addition to containers, you will need:
- Seeds
- Seed starting mix or potting soil. It is helpful to have a large tub with a lid to keep the soil in to keep mess to a minimum.
- Spray bottles or watering can
- Sunny window sills or grow lights
- A baker’s rack or some open shelf/counter space
- A warm place for germination
- Craft sticks or chalk pen for labeling
- PDF Instructions for Classroom Seed Starting

Before you plant
You will need to do a few things before you get planting. Read the basic information included below to get ready for any growing. Then, select the appropriate plant family from the sections at the end of this article for your plans and get started.
The how:
Always wash your trays with hot, soapy water and allow them to air dry before planting. Using clean equipment every time helps prevent plant diseases and pest issues.
Starting seeds of any type begins with the same basic process.
Most annuals grown for the garden or farm do not need special treatment of the seeds but may need different environments to germinate properly. After getting your equipment ready, we have given instructions based on the four families of annual plants most common in school gardens.
Before you start planting, it is important to have an idea of your end goal. For the rest of this guide, we will assume that the goal is to produce plants for an onsite school garden. If your goals differ, you can account for that as you plan.
We have included these sectioned guides to help you with the following steps:
- Choosing Your Seeds
- How to Plant Tomatoes and Heat-Loving Crops
- How to Plant Legumes
- How to Plant Brassicas
- How to Plant Cucurbits
- Planting Herbs
- Transplanting

How do I Choose the Right Seeds for Starting in the Classroom?
It is imperative to consider a few things when picking out seed varieties. What types of vegetables do well in your area, how long do they take to reach maturity, and what can you start indoors?
Locate your growing zone and use that as your guide when browsing seed companies to pick the best fit. Pay attention to the “Days to Harvest” on the listing or seed packet. You want varieties that will be available to eat within the school year. Next, consider what vegetables your students and their families enjoy. This is a good time to consider foods that are culturally relevant to the community you serve.
The last thing to consider is your skill level. If this is your first garden, focus on easier-to-grow crops to start. We recommend summer squash, lettuce, tomatoes, collard greens, bush or pole beans, peas, and salad turnips.
Radishes are great for doing experiments because of their speedy growth, although their flavor isn’t always a hit with kids. Pick varieties that are labeled as disease-resistant when possible. Once you've picked your crops, get them on paper and start a garden plan.

For planting any type of seed:
Start with moist but not wet soil; you will water thoroughly once you have planted the seeds. Once seeds are planted, you can water with spray bottles or by bottom watering.
Seeds should be planted around 1-2 times as deep as the size of the seed. This means a seed that is ⅛ of an inch in diameter should be planted ¼ inch deep. Larger seeds like beans and squash should be planted at least an inch deep as the roots can push the seed upward.
To bottom water, place all of your planted trays in a tray with no holes. Fill the tray without holes with water and allow the soil to absorb the water. Capillary action will draw water up into the soil. After about an hour, you can pour off any excess water from the bottom tray. Do not leave trays sitting in standing water, as this can lead to root rot.
How to plant tomatoes
Tomatoes, tomatillos and peppers are very similar so these instructions can be used for those types of seeds as well. All of these can be started in 6-cell trays and then potted up into the 2.5-inch pots to give them a longer growth period indoors. Since this family requires the most heat to germinate and grow, they benefit from staying inside until outdoor temperatures are consistently warm.
Tomatoes have a special adaptation that allows them to produce roots from the little hairs that grow on their stems. This means that if you bury the stem, your plant will produce even more roots. Every time you transplant and bury the stem by a few inches, you strengthen the plant.
Using the 6-cell trays:
- Fill each tray with soil to the top edge.
- Use a second pot to compress the soil; this will give you a divot in which to place the seeds.
- Place 1-2 seeds in each cell.
- Fill the remaining space with soil. The soil should cover the seeds with ¼ to ½ an inch of soil.
- Water thoroughly and place in the tray under a humidity dome until the seeds sprout. (If too much water is condensing on the sides of the dome and dripping, open the vents.)
- Once you have around 50% germination, remove the humidity dome to prevent fungal issues.
How to plant legumes
Peas, bush beans, and pole beans are all started in the same way. Although peas are best planted out as soon as possible and therefore can be planted in the 6-cell. All legumes should be transplanted once they have a single set of true leaves to avoid transplant shock.

Using the 2.5 pots:
- Fill each pot with soil to the top edge.
- Use a second pot to compress the soil lightly.
- Make a hole 1 to 1 ½ inches deep using a pencil or finger.
- Put 1 or 2 seeds in the hole and cover with soil.
- Water thoroughly and place in the tray under a humidity dome until the seeds sprout. (If too much water is condensing on the sides of the dome and dripping, open the vents.)
- Once you have around 50% germination, remove the humidity dome to prevent fungal issues.
How to plant brassicas
Collards, kale, turnips, and broccoli are all from the Brassica family and are similar in their planting needs.
Using the 6-cell trays:
- Fill each tray with soil to the top edge.
- Use a second pot to compress the soil; this will give you a divot in which to place the seeds.
- Place 1-2 seeds in each cell.
- Fill the remaining space with soil. The soil should cover the seeds with ¼ to ½ an inch of soil.
- Water thoroughly and place in the tray under a humidity dome until the seeds sprout. (If too much water is condensing on the sides of the dome and dripping, open the vents.)
- Once you have around 50% germination, remove the humidity dome to prevent fungal issues.
How to plant cucurbits
The Cucurbitaceae family includes cucumbers, summer squash, pumpkins, and melons. These plants are all sensitive to root disturbance and should be transplanted as little and as carefully as possible. Try to schedule your planting so that you can transplant before too many roots are visible through the sides of the pot.
Using the 2.5 pots:
- Fill each pot with soil to the top edge.
- Use a second pot to compress the soil lightly.
- Make a hole 1 to 1 ½ inches deep using a pencil or finger.
- Put 1 or 2 seeds in the hole and cover with soil.
- Water thoroughly and place in the tray under a humidity dome until the seeds sprout. (If too much water is condensing on the sides of the dome and dripping, open the vents.)
- Once you have around 50% germination, remove the humidity dome to prevent fungal issues.

Frequently Asked Questions About Gardening in Schools.
What is the easiest seed to grow in the classroom?
Radishes and beans are reliable sprouting, quick-growing seeds. They work well for lessons on germination and parts of a plant. Because the cotyledons (embryonic leaves) are distinctly different from the adult leaves, they make observations easy for students.
What are the best vegetable plants for students to grow?
For younger students, quick-growing crops with mild flavors are ideal. Lettuce is a good choice because small varieties can be grown to edible size even in a pot grown indoors. If you have space for vine crops, peas are great for many reasons: they grow quickly, all parts of the plant are edible, fresh peas are sweet in or out of the pod, and they can be spaced close together and grown vertically.
Which plants grow fastest for school projects?
Beans, radishes, and popcorn all grow quickly and work well for school projects and science experiments.
How do I start a classroom garden?
Container gardens are a great way to grow plants in a small space. Grow bags, pots, and raised beds can all be made to work either inside the classroom or outside. You can also use vertical racks and hydroponic systems for more intense indoor gardening.
What should be planted in a school garden that will be ready to harvest before June?
Your growing zone will determine what you can plant and when. In zones 7 and up, you will have a lot of choices of vegetables and fruits ready for harvest before summer. The key is to look for early maturing varieties. Salad turnips, cherry tomatoes, lettuces, and short-season carrots are all good selections.
For colder growing zones, you will need to be a bit more creative to have produce ready for harvest before students leave for the summer. Starting quick maturing brassicas like bok choy indoors before your last frost will help you to get crops growing as quickly as possible. Using season extenders like low tunnels covered with frost blanket or greenhouse plastic can allow you to plant later into the fall, overwinter hardy crops and plant earlier in the spring.
Can school garden produce be served in the cafeteria?
Different states have different rules regarding the use of school-grown produce in the cafeteria. In most states, as long as proper food safety practices are followed, food grown in the school garden can be added to a salad bar or used for tasting experiments at the least.
This GARDEN TO CAFETERIA TOOLKIT from the Slow Food USA organization will help you to better understand what needs to be done to properly serve what you produce.
Transplanting FAQ

When can I transplant outside?
Gardeners in growing zone 8-11 can transplant seasonally appropriate plants all year round. However, for those living in colder zones, the best time to transplant seedlings outdoors is when nightly temperatures reach at least 45℉.
When are my seedlings ready?
Seedlings are ready when they have developed their second set of true leaves and their roots are sufficiently developed - otherwise, the root ball may break apart while being removed from its tray.
Check for proper optimal root growth by grasping one of your seedlings at the soil surface and gently pulling it from the tray while pushing it up from the bottom. The entire plug should slide out of the cell tray.
What happens if the plants stay in the tray or pot too long?
If the seedling is overdeveloped, it will easily come out of the tray but be root-bound. Root-bound seedlings are easy to identify because numerous roots will show out of the drainage holes. When you move them outside, these plants may be stunted because the roots will not grow into the soil properly.

Transplanting from cell trays
- Dig or push out a hole in your pot or garden bed a little bigger than the individual cell size.
- Push the cell plug up from the bottom hole while holding the stem gently.
- Put the entire ball of roots and soil into the hole.
- Backfill the hole around the plant and press the soil down firmly around the stem.
- Water thoroughly.
Transplanting from pots
- Dig a hole a little larger than the size of the pot.
- When transplanting out of the 2.5-inch pots, loosen the edges before you try to turn out the plant. Use a craft stick or butter knife to slide along the edges of the plant.
- Place your hand over the top of the pot and soil surface, allowing the stem to rest between two of your fingers.
- Turn the plant upside down and tap the bottom of the pot until it slides out into your hand.
- Put the entire ball of roots and soil into the hole.
- Backfill the hole around the plant and press the soil down firmly around the stem.
- Water thoroughly.

How Long Do Seedlings Need to Grow Indoors?
This depends on the type of plant you are growing. Between 2 and 8 weeks is the most common time frame. Heat-loving crops should be given 8 weeks. Cucurbits, peas, and beans should be transplanted quickly, closer to 2 weeks.
Find out when the last frost date is in your area and subtract 6-8 weeks from that date. Knowing this date, you can nail down the best timeframe to plan and ensure that the seedlings have enough time to develop before the transplant date.