Growing for Food Security with Limited Space

When space is limited, focus on growing crops that offer the biggest impact—whether by enhancing your meals, growing quickly, or offering multiple edible parts. Beets, turnips, and potatoes can be harvested in stages. Herbs, green onions, and radishes deliver big flavor from small spaces and pair well with pantry staples like rice and beans.
While a small garden might not meet all your caloric needs, it can greatly improve the quality and variety of your meals. The plants listed below are chosen for their ability to be harvested young or mature, or for packing a flavorful punch with minimal input.
Nutrition matters just as much as calories. While shelf-stable staples like dried beans, rice, and canned meats are essential, they can’t provide everything. Fruits and vegetables supply vital nutrients like vitamin C, potassium, iron, folate, and vitamin A—nutrients that keep you feeling strong and well-fed.

Start Small, Grow Smart
Even if your space is extremely limited—think apartment windowsills or tiny balconies—there are still great options. If you're just getting started or want the quickest possible harvests, consider growing microgreens. These nutrient-packed greens take up very little space and are ready to harvest in as little as 7–10 days.
Microgreens are a great place to begin when space is tight. Once you’re ready to expand, the crops below are excellent next steps. If you're working with especially small setups, our article on growing microgreens in 5x5 trays is a helpful place to start. You’ll also find plenty of resources on growing microgreens to support you as you grow. When you are ready to move beyond microgreens, all of the plants below are great choices to start with
Where to Grow Your Plants When Space is at a Premium
You can grow food in just about any container—window boxes, five-gallon buckets, and decorative pots can all be put to use. Start by tucking herbs among your flowers or replacing a patch of lawn with something edible. Even a front yard can become a productive garden.
If you want to grow on a deck or patio, grow bags can be a great way to get started. They allow you to move plants around as you learn about the shade and sun patterns in your space. You can even bring your plants indoors if frost threatens.
For more on starting a grow bag garden check out How to Plant a Grilling Garden. For an easy and cost-effective way to fill your grow bags, check out this article on Growing Blueberries in Grow Bags for an easy recipe and instructions for filling bags.
Be ready to grow: have seeds on hand for times of need.
It’s always a good idea to have a stash of seeds ready—just in case. But keep in mind, most seeds lose germination strength after a year or two. To keep them viable longer, store your packets in a cool, dry, and dark place. Nearly all of the crops listed below will stay good for at least two years when stored properly.
In a pinch, you can also plant seeds from grocery store dry goods. Only whole dried beans and peas will work—split lentils or split peas won’t germinate, since the plant needs both halves of the seed. Germination might be uneven depending on age and storage, so plant extra just in case.
Watch this video to learn how to do a germination test.

Growing beyond the seed
Some crops don’t require seeds at all—you can grow them from scraps of produce you already have in your kitchen.
Potatoes are a great example. You can plant chunks of tubers as long as they have at least two eyes. Each piece can yield pounds of food over time.
Green onions (and other onion relatives like leeks) can be regrown from the root ends. Just stick them in soil or place them in a glass of water until they sprout. The same goes for beet and turnip tops—if you leave a bit of the crown and root attached, you can regrow them for fresh, edible greens, even if they don’t form a second root.
These simple methods can help stretch your resources and keep fresh greens in your meals—especially useful when growing space or seed stock is limited.
Plants that you can grow augment your stored goods.
These plants are all great for growing in small spaces. Most are recommended for growing during food scarcity because they produce relatively quickly and many have edible greens that can be harvested selectively while you wait for them to reach maturity.
If you know how to grow, get started with some or all of the plants below. Practice now, before you need them, know these plants and how they grow. If you are new to growing these crops read on under the list for a little help getting started.
Top 10 crops to grow in a food shortage
- Herbs — add lots of flavor in small quantities, have health benefits due to high levels of phenolic compounds and attract beneficial insects to help protect your plants. Many herbs can be perennial in mild climates or moved indoors over winter. Keep these growing to add flavor to what can otherwise become bland and repetitive staple food.
- Amaranth — grows like a weed, good for green leaves which can be eaten like spinach and for the edible seeds
- Beans — green beans during the growing seasons, for winter purposes fava beans can grow in much colder weather than other beans (the young leaves are also edible).
- Beets — high in sugars and minerals, edible roots and greens
- Green Onions — fast growing and full of flavor
- Kale — high in minerals, easy to grow and nutritious
- Peas — vining crop that saves space by growing up instead of out, edible pods, leaves and tendrils
- Potatoes — a pantry staple that contains high levels of protein for a plant as well as potassium and other nutrients
- Radishes — fast growing and great for adding spice and crunch, radishes are also a great source of trace minerals and vitamins.
- Turnips — another nutritious cool-weather crop, edible roots and greens
Bonus crop in warm weather:
- Cherry tomatoes — high in vitamin C and folate
- They have to be planted early so they can ripen in the heat of summer but if kept well picked they can keep producing up till the first frost. If you find yourself with more than you can eat, dry some to add flavor to winter meals.

Growing Herbs to Liven up Your Meals of Dried Goods
Our top five herbs to have on hand, whether kept growing year round or dried to get you through snowy suppers are:
Basil — An easy and prolific warm weather herb. There are many delicious types of basil from the common genovese to the holy Tulsi basil of India. All of them have their own unique growth habits and flavor profiles.
Oregano — This hardy herb adds great flavor fresh or dried. Oregano is hard in zones 4-9 and will regrow from its root in the spring if you remove dead wood in the late fall. The seeds need light to germinate so start them inside where you can keep them moist. Transplant outside when the plants have at least four true leaves.
Rosemary — Depending on where you live, rosemary can grow year round. It is tricky to start from seed but easy to propagate from cuttings. Buy a small plant and bring it indoors if you live in zone 5 or below. In zones 6-10 it can stay outdoors and often flowers in the late winter.
Cilantro — Despite its popularity in warm climate cuisine, cilantro prefers cooler temperatures to grow. It can be planted in the early spring through late summer for fall harvests, in warmer regions it will grow through the winter. In the heat of summer cilantro will bolt (go to seed) quickly. Cilantro can be harvested at any stage, the leaves, flowers and green seeds are all delicious. Allowed to dry on the plant the mature brown seeds are known as coriander.
Parsley — Ubiquitous in many dishes, parsley is a pantry staple. The plants can get quite large and all parts of the plant including roots are edible. It is very hardy and will overwinter in most areas. As a biennial plant, it will produce flowers and seeds in its second year of growth. The seeds can also be used to flavor cooked foods.
Related: How to Dry Basil and Other Herbs: Top Tips for Preserving Homegrown Herbs
How to grow for food security
Start with the best soil you can access. Many existing flower beds or pots can be converted to grow food. To preserve soil structure, cut unwanted plants off at the base instead of pulling them—leaving the roots in place helps enrich the soil and prevent erosion.
Depending on the season and the crop, you may be able to direct sow seeds outdoors. But for better control, especially in uncertain conditions, start seeds indoors. Most seedlings thrive in the same conditions you do: 65–75°F, consistent moisture, and moderate humidity.
You can start seeds in nearly any container—from cardboard tubes to plastic cups. But if you’re looking for a setup that makes watering, transplanting, and seed care easier, our Ultimate Backyard Gardener Bundle is a great place to start. It includes everything you need to start seeds indoors, grow year-round, and stay flexible no matter the season or your space.

Growing Amaranth
Amaranth is a versatile, fast-growing plant that thrives in heat and can be grown for both its nutritious greens and edible seeds.
Outdoors, sow seeds two weeks after your last frost. Because the seeds are tiny, surface sow them and keep the soil moist until they germinate. Thin to one plant every 6–12 inches, depending on the variety. Don’t toss the thinnings—they make delicious microgreens.
If you're growing for grain harvest, give each plant about two feet of space for full development. Amaranth can also be started indoors for a head start on the season. Just transplant outside once the risk of frost has passed and follow the same spacing recommendations.
To learn about hardening off seedlings and transplanting, check out the rest of our seed-starting blog over here.

Growing Beans
Beans are a reliable, easy-to-grow staple with lots of flexibility. Whether you’re growing for fresh eating or long-term storage, they offer great value in small spaces.
Green Beans
For limited space, choose pole beans over bush varieties. They make the most of your vertical space and can grow over 10 feet tall. Soak seeds for 4–6 hours before planting to improve germination. Beans grow quickly, so they can be direct sown outdoors or started indoors.
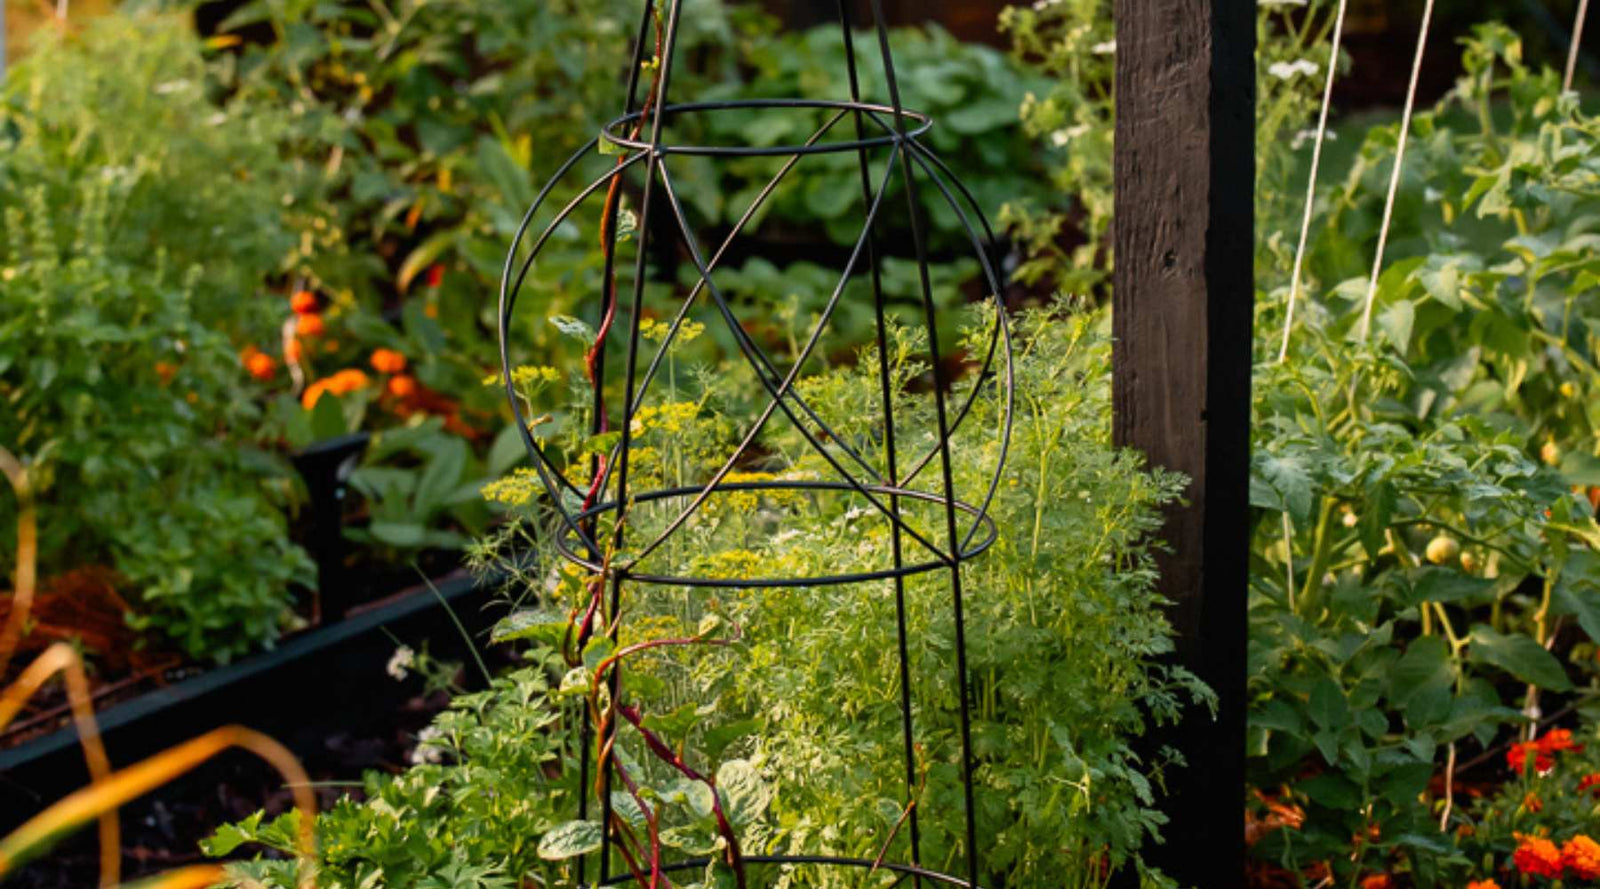
Plant your climbing support at the same time as your seeds—these vines grow faster than you might expect. A tomato cage, garden trellis, or even a deck railing can provide the support they need.
Related: Easy Methods to Secure Your Plants to a Trellis
Fava Beans
Favas are a bit different—they’re cold-hardy and ideal for early spring or fall planting. In zones 6 and up, they can even overwinter outdoors and handle temps down to 15°F. Favas are also a great cover crop, improving soil by fixing nitrogen.
For fresh fava beans, you’ll need to remove the pods and peel the beans. For dry storage, allow the pods to fully dry on the plant before harvesting.
Curious about a different way to grow them? Check out our video tutorial for growing fava bean microgreens!

Growing Beets
Beets are a versatile crop that offers both sweet, nutrient-rich roots and flavorful, mineral-packed greens. They're quick to mature and well-suited to succession planting.
You can direct sow beets when daytime temperatures are between 55 and 90°F. Plant seeds in loose, well-drained soil that's at least 8 inches deep, covering them with about a third of an inch of soil. Once seedlings are 3 to 6 inches tall, thin to one plant every 4 inches. The thinnings are completely edible and make excellent baby greens.
Beets handle cool weather well and can even tolerate light frost, making them a reliable option for early spring and fall gardens. For a continuous harvest, plant a new round every few weeks.
Harvest roots when they’re small and tender, or let them grow to full size. Baby beet greens are delicious raw, while mature greens are best cooked—sautéed, added to soups, or used like spinach.

Growing Green Onions
Green onions, also called scallions, are one of the most space-efficient crops you can grow. Nearly every part of the plant is edible, including the flavorful stalks and flower buds. They grow quickly, can be harvested at any stage, and will even regrow from their roots.
You can start green onions anytime from early spring through late summer, and in many areas they’ll survive the winter in well-drained soil. Sow seeds about ¼ inch apart and ¼ inch deep. While they don’t form large bulbs like storage onions, you can increase the size of the white portion by hilling soil up around the base as they grow.
When it’s time to harvest, you can either pull the whole plant or cut it at soil level and leave the roots in place to regrow. If you do pull the roots, you can replant them in soil or set them in a shallow glass of water to sprout again.
Once established, green onions can become a long-lasting, cut-and-come-again crop—perfect for small spaces and continuous harvests.
 Growing Kale
Kale is one of the easiest and most resilient leafy greens you can grow. It’s packed with vitamins and minerals, thrives in a range of conditions, and can be harvested over a long season.
You can plant kale from early spring through late fall, and in regions with mild winters, it will continue growing year-round. For baby greens, sow seeds densely. For full-sized plants, space them about 12 inches apart. Plant three seeds per hole about ½ inch deep, and keep the soil consistently moist until germination.
As the plant grows, you can harvest outer leaves while allowing the center to keep producing. Even after the plant begins to flower, the leaves remain edible—though slightly more bitter—and the flowers themselves are tasty, especially fresh on salads or pasta.
Kale is cold-hardy, and its flavor often improves after a light frost, making it a great choice for late-season growing or overwintering in many zones.
Growing Peas
Peas are an early-season favorite that thrive in cool weather and make great use of vertical space. They're one of the first crops you can plant outdoors in spring, and many parts of the plant—including the pods, peas, flowers, and tendrils—are edible.
Plant peas 4 to 6 weeks before your last frost date, as they don’t mind chilly soil. In milder climates, you can plant again in late summer for a fall harvest. Peas dislike heat and will usually die back as summer temperatures rise.
Direct sow seeds about 1 inch deep, and install a trellis or climbing support at planting time. Peas begin to climb early and grow best when they have something to latch onto right away.
To keep them producing, make sure to harvest regularly. The more you pick, the more they'll grow. Use young leaves and tendrils fresh in salads, or stir-fry them with garlic. Older tips and pods are also great cooked Growing Potatoes
Potatoes are one of the most calorie-dense and nutrient-rich crops you can grow at home. They’re packed with complex carbohydrates, potassium, and plant-based protein, making them a key food security crop. And you don’t need a garden bed; grow bags make it easy to grow potatoes anywhere, even on a patio or balcony.
To get started, cut seed potatoes into chunks about 1 to 1½ inches wide, making sure each piece has at least one or two eyes. Plant them 2 to 3 inches deep in a container with 6 to 8 inches of soil. A container at least 18 inches tall gives your plants room to grow upward as you add more soil.
As the potato plants grow, hill up soil around the stems every couple of weeks. This encourages more roots and tubers to form along the buried stem. When the plants are around 8 inches tall, add 4 more inches of soil—and keep repeating this until the bag is full.
You can start checking for baby potatoes around 7 to 8 weeks after planting. Once the foliage begins to die back, stop watering and let the tubers sit in the soil for about two more weeks to allow the skins to toughen up. To harvest, dump the bag onto a tarp or mesh tray, save the soil for reuse, and let the potatoes dry before storing.
Want a full breakdown with tips for soil mix, watering, and troubleshooting? Check out our guide to growing potatoes in grow bags.
 Growing Radishes
Radishes are one of the fastest and easiest crops to grow, making them ideal for quick harvests and small spaces. Depending on the variety, they can be ready in as little as 3 to 4 weeks from planting.
There are two main types: small, quick-growing salad radishes like French Breakfast and White Icicle, and larger winter radishes like daikon or black Spanish. Both are direct sown about ½ inch deep. Space salad types about 1 inch apart, while larger varieties need 3 to 4 inches between plants.
Radishes don’t just offer crisp roots—their greens are edible too. Though a bit prickly, the leaves can be sautéed or added to soups for a nutritious boost. They also make great companion plants, as their scent can deter pests from other crops.
Salad radishes are best eaten fresh for a spicy crunch, while winter types can be cooked, stir-fried, or pickled for longer storage.

Growing Turnips
Turnips have a growing habit very similar to radishes although they do tend to prefer cooler weather. They also sport edible roots and greens that can be cooked into many dishes. Plant seed ½ inch deep and 1”-2” apart. Once plants are growing well thin to 3”-4” apart. These thinnings are a great addition to midseason meals.
There are two types of turnips, the traditional purple topped cooking type and the Asian salad types that can be eaten fresh or cooked. Turnips are extremely versatile in the kitchen; they are a fantastic mashed like potatoes, the greens can be lightly wilted or cooked similar to collard greens. Salad types can be cooked or eaten fresh and are more mild than the longer growing cooking type or radishes.

Growing Cherry Tomatoes
Cherry tomatoes are a flavorful, nutrient-packed crop that thrive in warm weather and grow well in containers or small garden spaces. They’re rich in vitamin C and folate, and if you keep them picked, they’ll continue producing right up to the first frost.
Start your seeds indoors 8 to 12 weeks before your last frost. Sow two seeds per pot or cell about ¼ inch deep in a quality seed-starting mix. Tomatoes prefer warm germination temperatures around 75–80°F. If you don’t have a heat mat, place them on top of your refrigerator where it's naturally warmer.
Once seedlings sprout, thin to the strongest plant and pot up as needed until it’s warm enough to move them outdoors. Choose the sunniest spot available and provide growing support with a trellis or tomato cage.
We have a full guide on How to Grow Tomatoes from Seed that walks you through every step—timing, transplanting, and troubleshooting.
Pick your tomatoes as soon as they ripen to encourage continuous production. If you end up with extras, try drying or roasting them to preserve that summer flavor for winter meals.
Tomatoes are more sensitive to nutrient deficiencies than other crops, especially when grown in containers. Use rich, well-draining soil and consider adding a balanced fertilizer with calcium once a month to prevent blossom end rot.
Related: Treating Tomato Blight: Easy Soil Sterilization Tips for Healthy Plants
Start Growing Now for Food Security
It is often said that the best time to plant a tree is 10 years ago and the second best time is now. Growing for food security follows the same line. The best time to start is before you need it, at the least have the supplies on hand so you can be ready to start growing. Most seeds will stay viable for a few years if stored in a cool, dry, and dark place.
Herbs in particular are a great place to start even if you have never grown before. Whether you start with little pots, window boxes or one little garden bed, at least you know you will have flavor when you need it.